Symbols (or icons) are an essential part of any app. It would be impossible to create software without them.
Luckily, when developing for Apple platforms, we have the amazing SF Symbols at our disposal.
And even although there are thousands of pre-made symbols we can choose from, there might be a time where the one you need just doesn’t exist yet.
SF Symbols are designed to integrate nicely with the default San Francisco (SF) system font which is used across the Apple platforms. When you need a custom symbol for your app that doesn’t exist in the collection, you can customize an existing one or create a new one from scratch.
I’ll show you how to edit an existing symbol to create a custom one.
Choose and export an existing symbol
The first step in the process is to choose the symbol you want to edit from the SF Symbols app. Make sure to download the app if you don’t have it yet.
Not all symbols are customizable. Some are copyright protected as they represent Apple products and features. While you can use them in your app as-is, you aren’t allowed to edit them. Those symbols will have an “info” badge next to them in the app.
For our example, we’ll choose the fork.knife symbol. I want to separate the fork and the knife objects into their own symbols so I can use them separately.
When you find the symbol you want to edit, right-click and go to File -> Export Template.
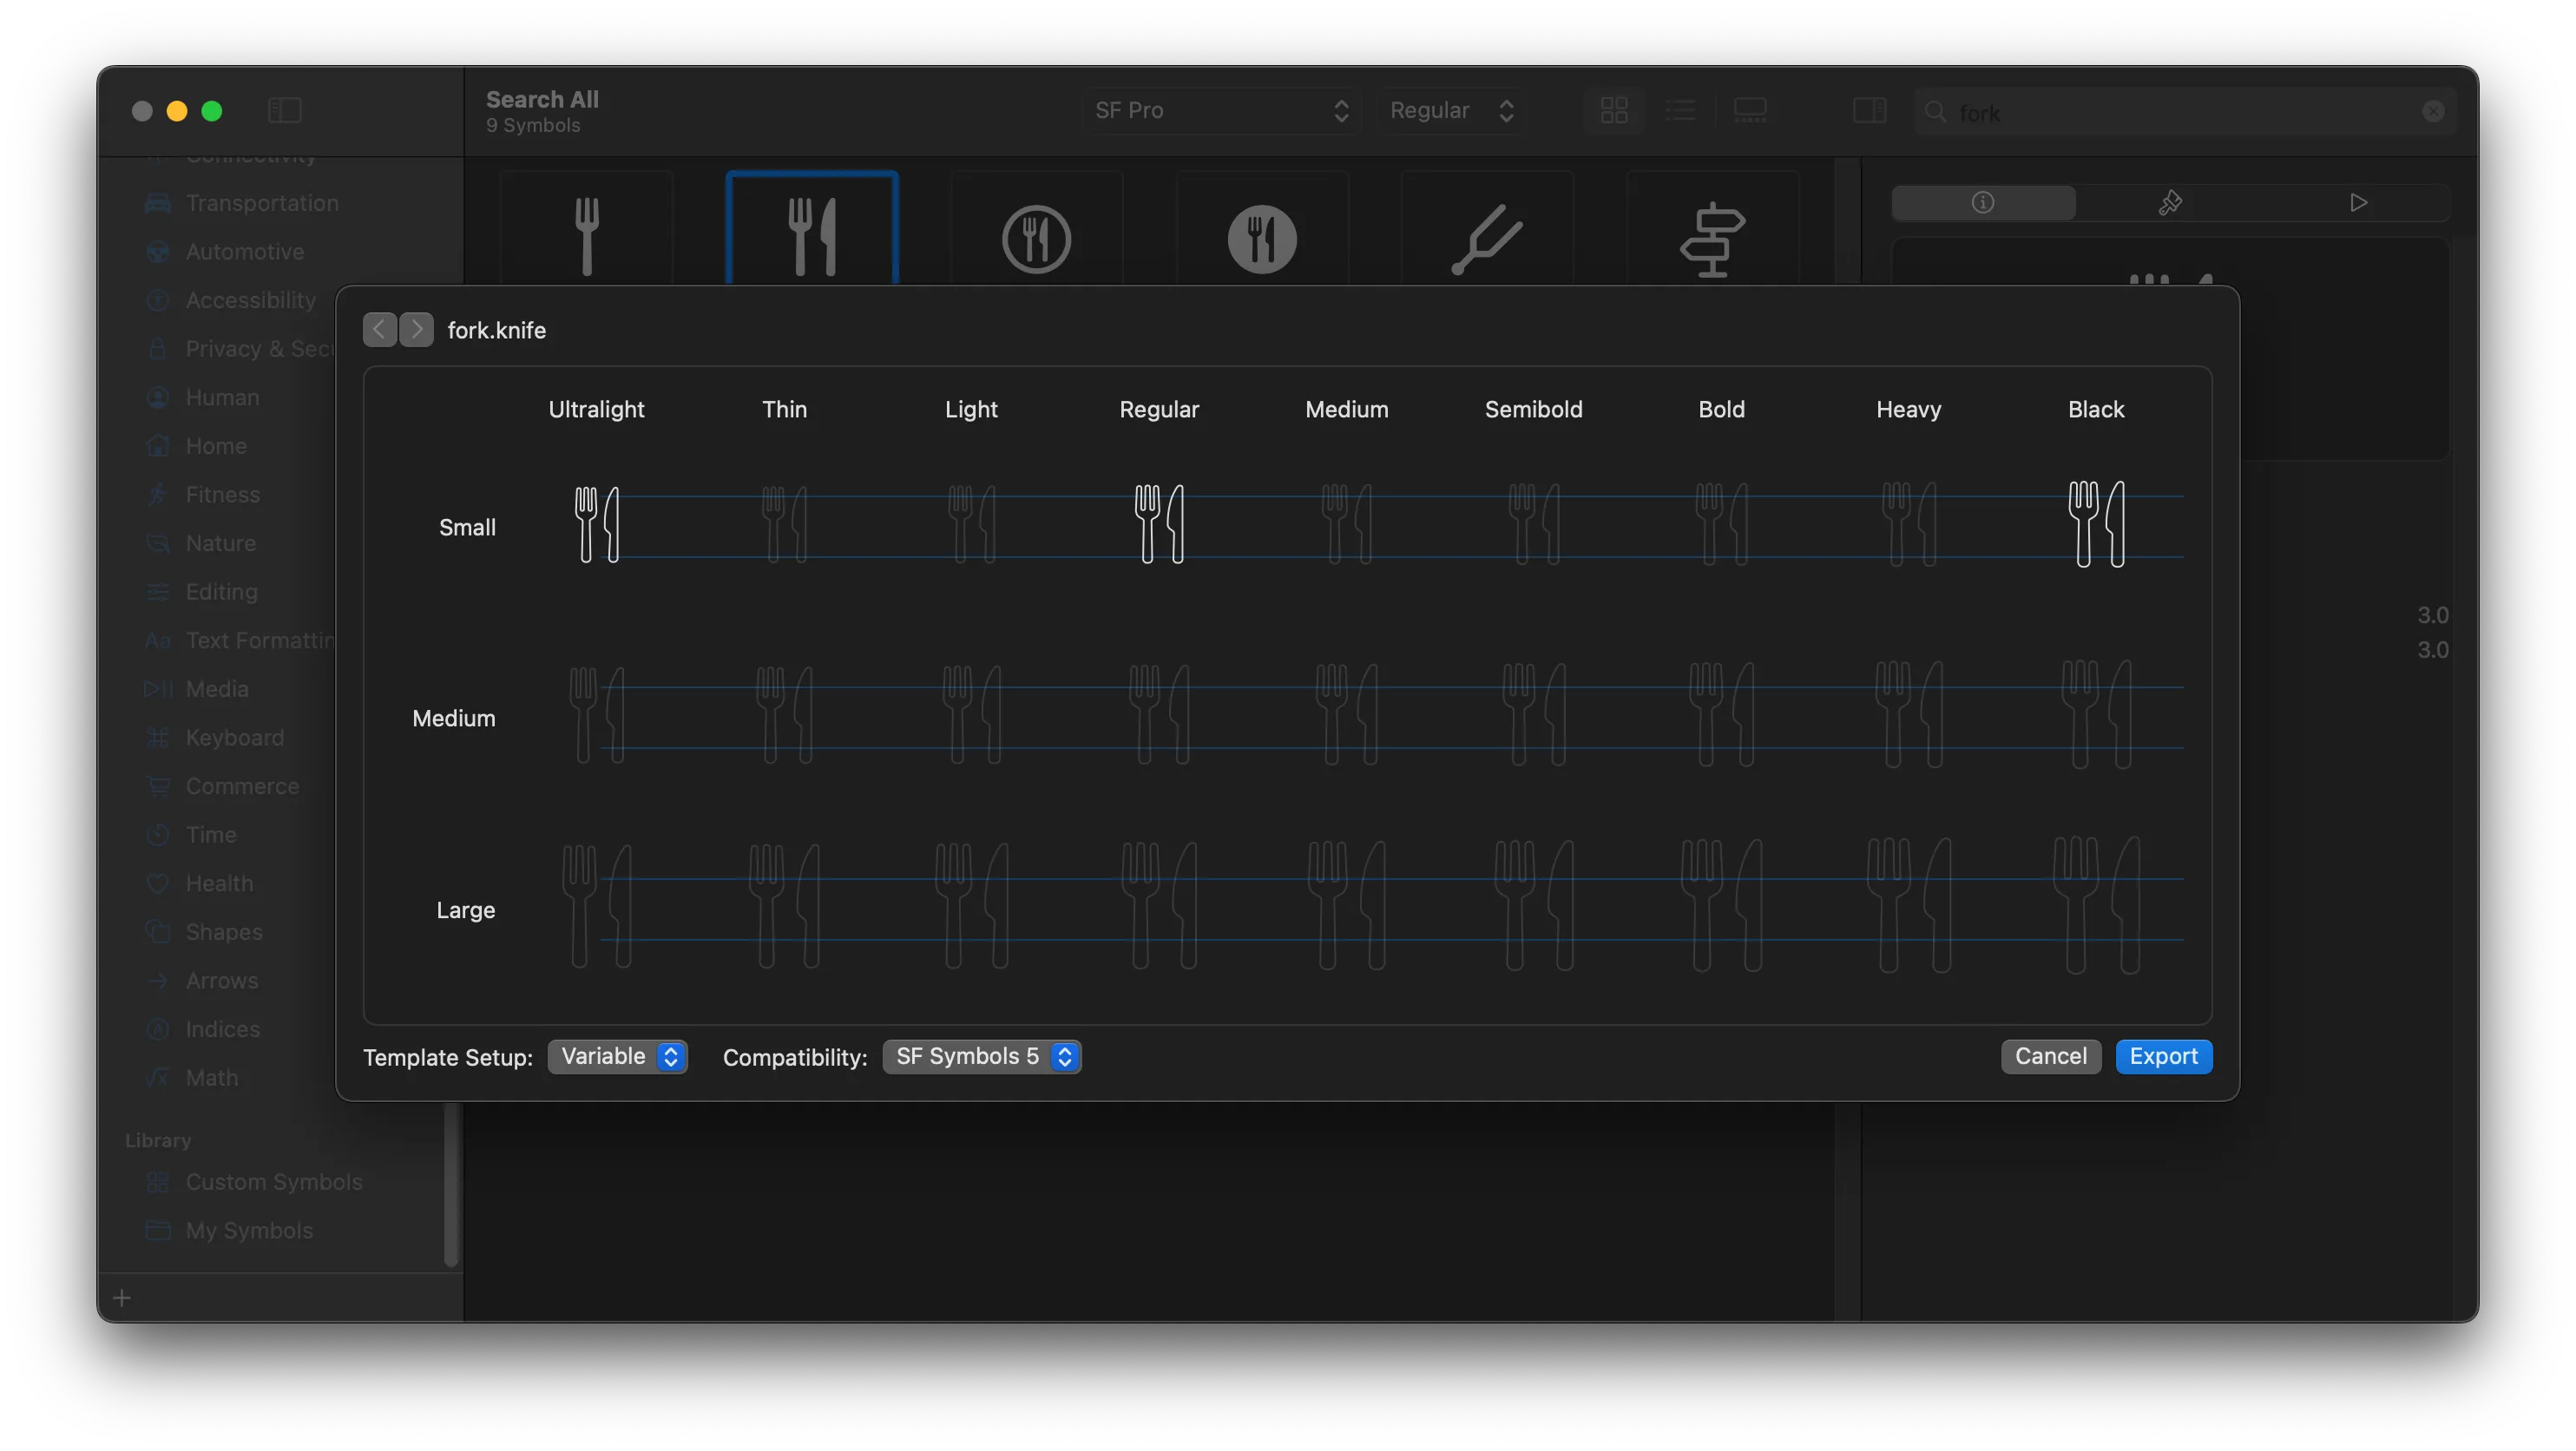
On the bottom left side of the window, you’ll see export settings. Template Setup has two options to choose from: Variable and Static. All SF symbols have 27 different variants.
Static template gives you the ability to edit all or some of the 27 variants with one set of explicit margins. It requires a lot of work to edit each one by hand so you’d choose this template if you only want to create one or two variants of your symbol. If you only need a semibold symbol you can only create the one you need.
Variable template consists of only three editable variants. This is the minimum number required for the system to generate the other 24. You only need to define three variants and the SF Symbol app will use the vector interpolation algorithm to dynamically generate all other weights and scales.
I’ll use the Variable template for this example and I’m currently on SF Symbols 5 version.
Export the template.
Now you have a fork.knife.svg file you can use to create your new symbol.
Create the symbol in Sketch
In this article, I’m using Sketch to create my custom symbol, for no specific reason. You can use any vector-drawing tool you like.
I won’t get into specific details on how to use Sketch in this article, but I’ll help you out a bit if you have never used it before.
Import the template
Open Sketch and go to File -> Open… Select the .svg file you exported earlier and click Open.
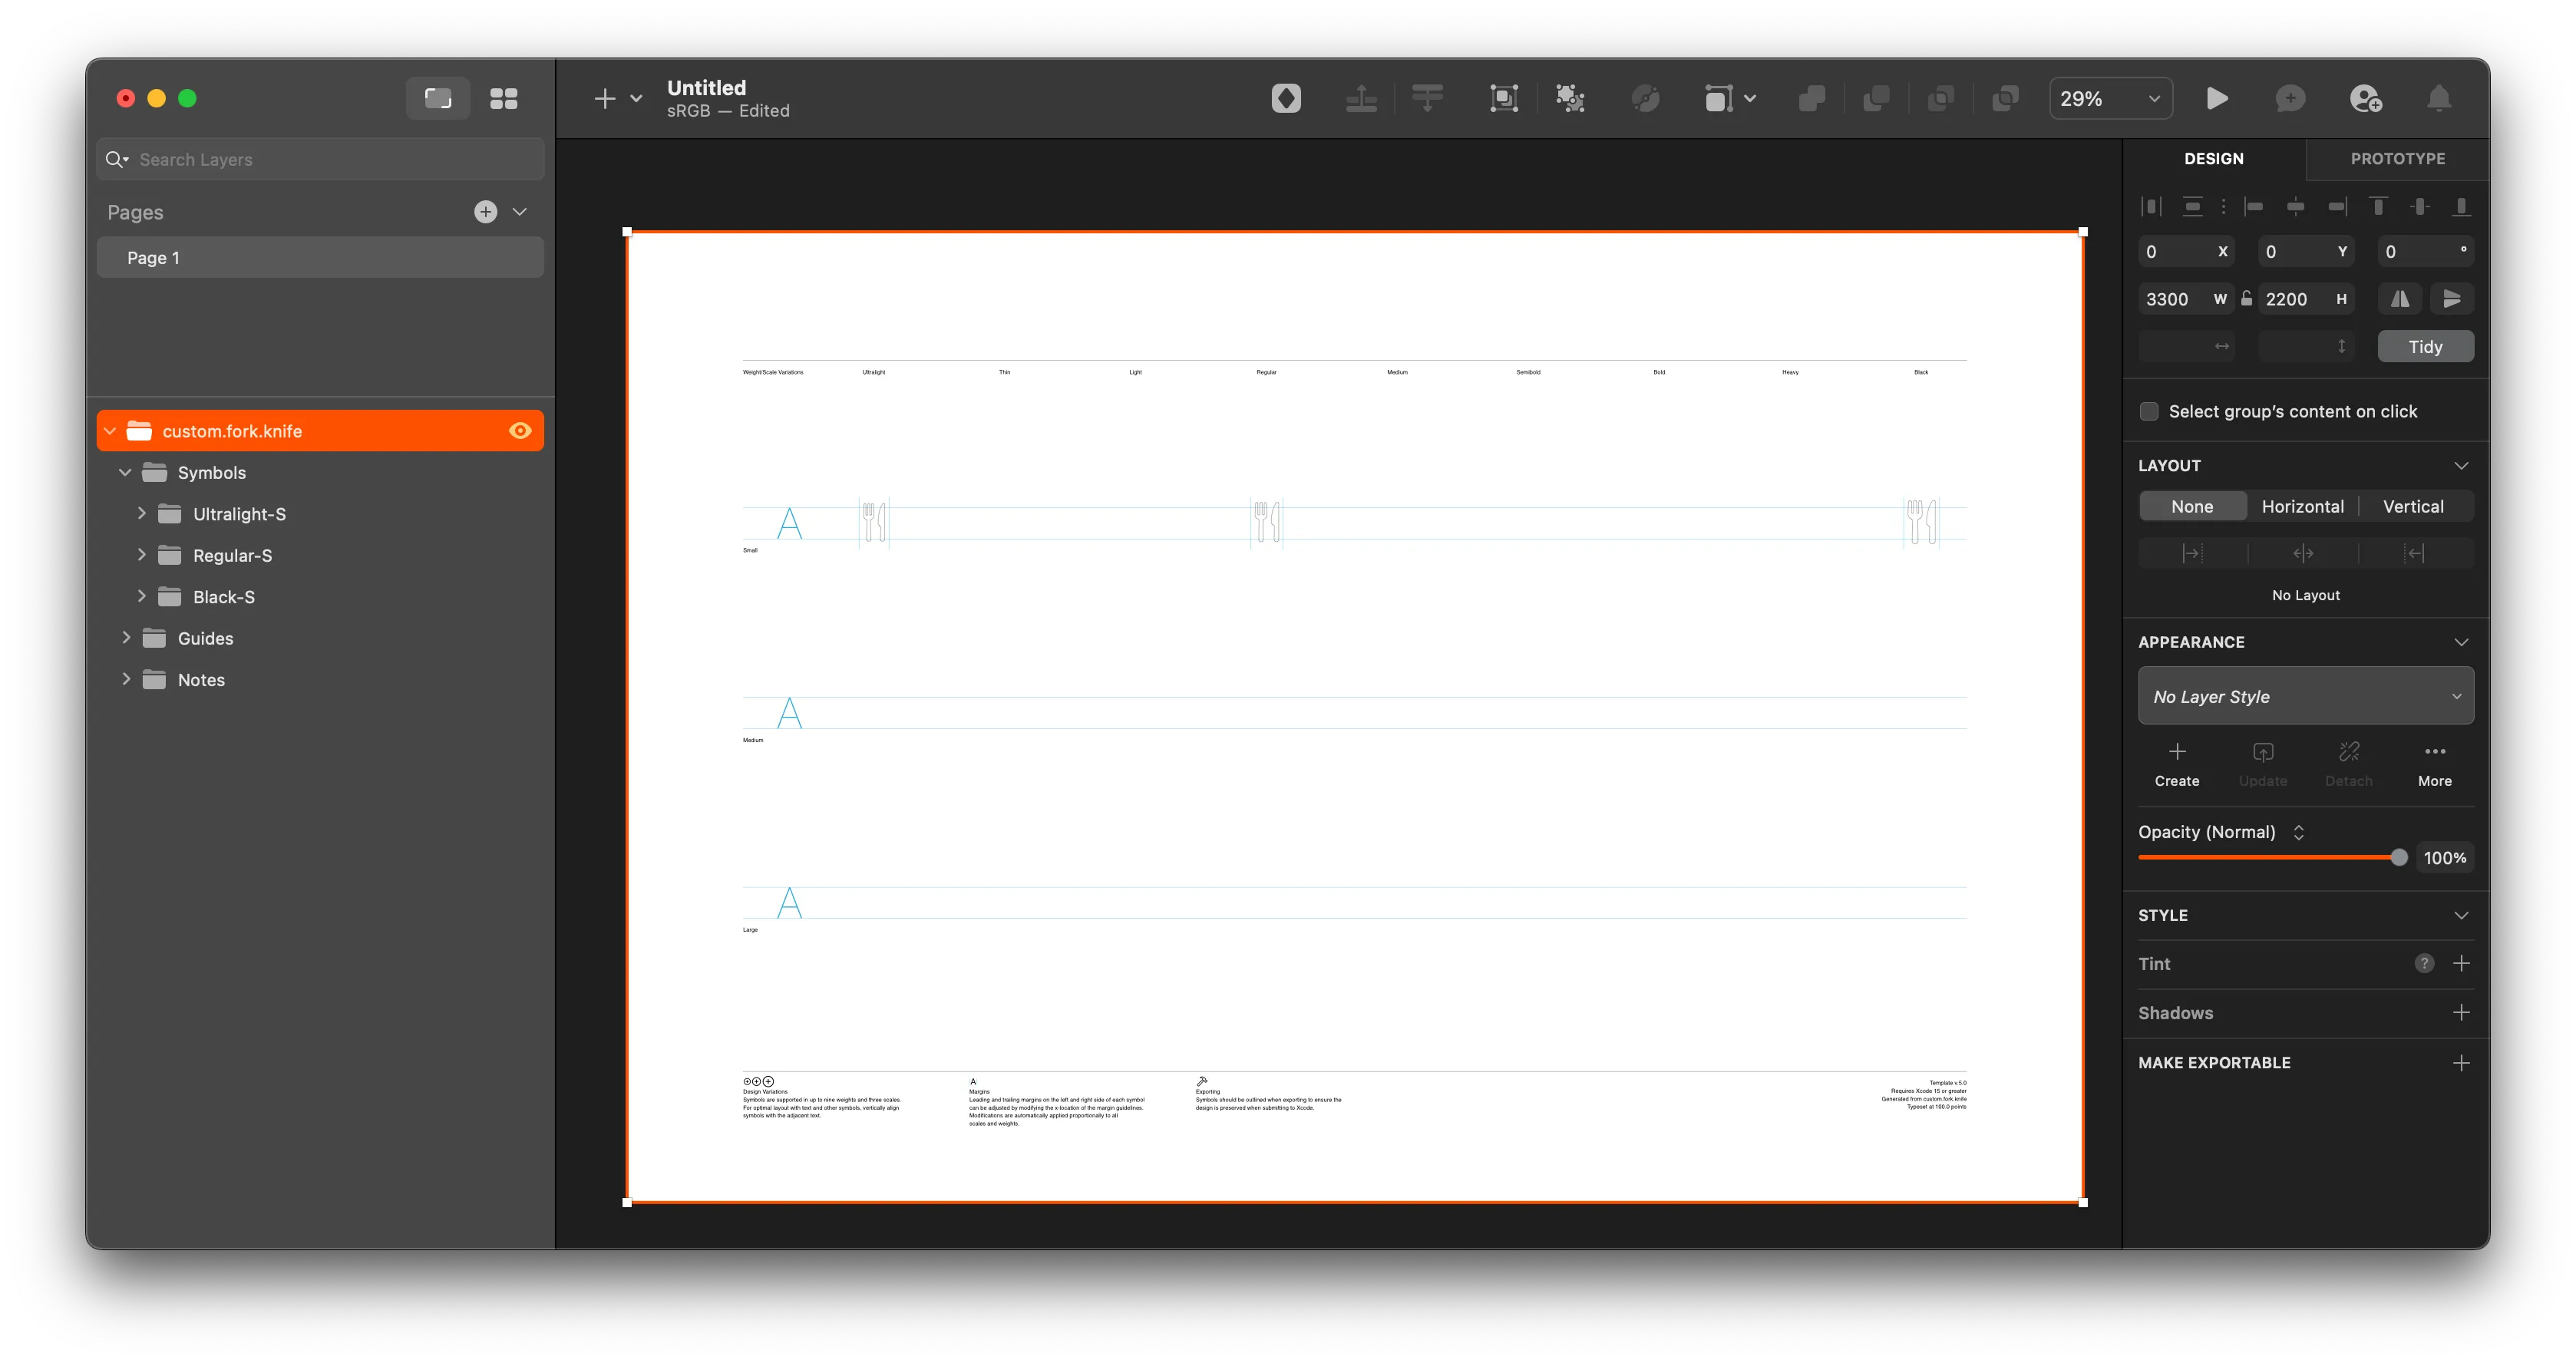
There is a lot going on, on the screen, but the template is well documented. It’s a chart with a legend at the bottom.
The right side, or y-axis shows different weight variants. The top side, or x-axis shows scale variants.
Edit the template
As we’ve already mentioned earlier, the Variable template gives you three different variants, ultralight, regular, and black symbols. They are outlined in the chart on the Small scale.
You can also see them in the left pane under Symbols folder. We won’t need Guides and Notes, so select them, right-click and click Lock 2 Layers. This will prevent us from accidentally selecting the alignment lines while we’re editing the symbol.
Expand the Regular-S and Shape folders on the left pane and you’ll see two Path components. Symbols are nothing more than paths. Well, they are so much more in our hearts, but as a vector graphics, it’s just a path. A collection of connected lines drawn to represent a symbol.
For this example, we won’t be drawing anything, we’ll separate the fork and the knife symbols.
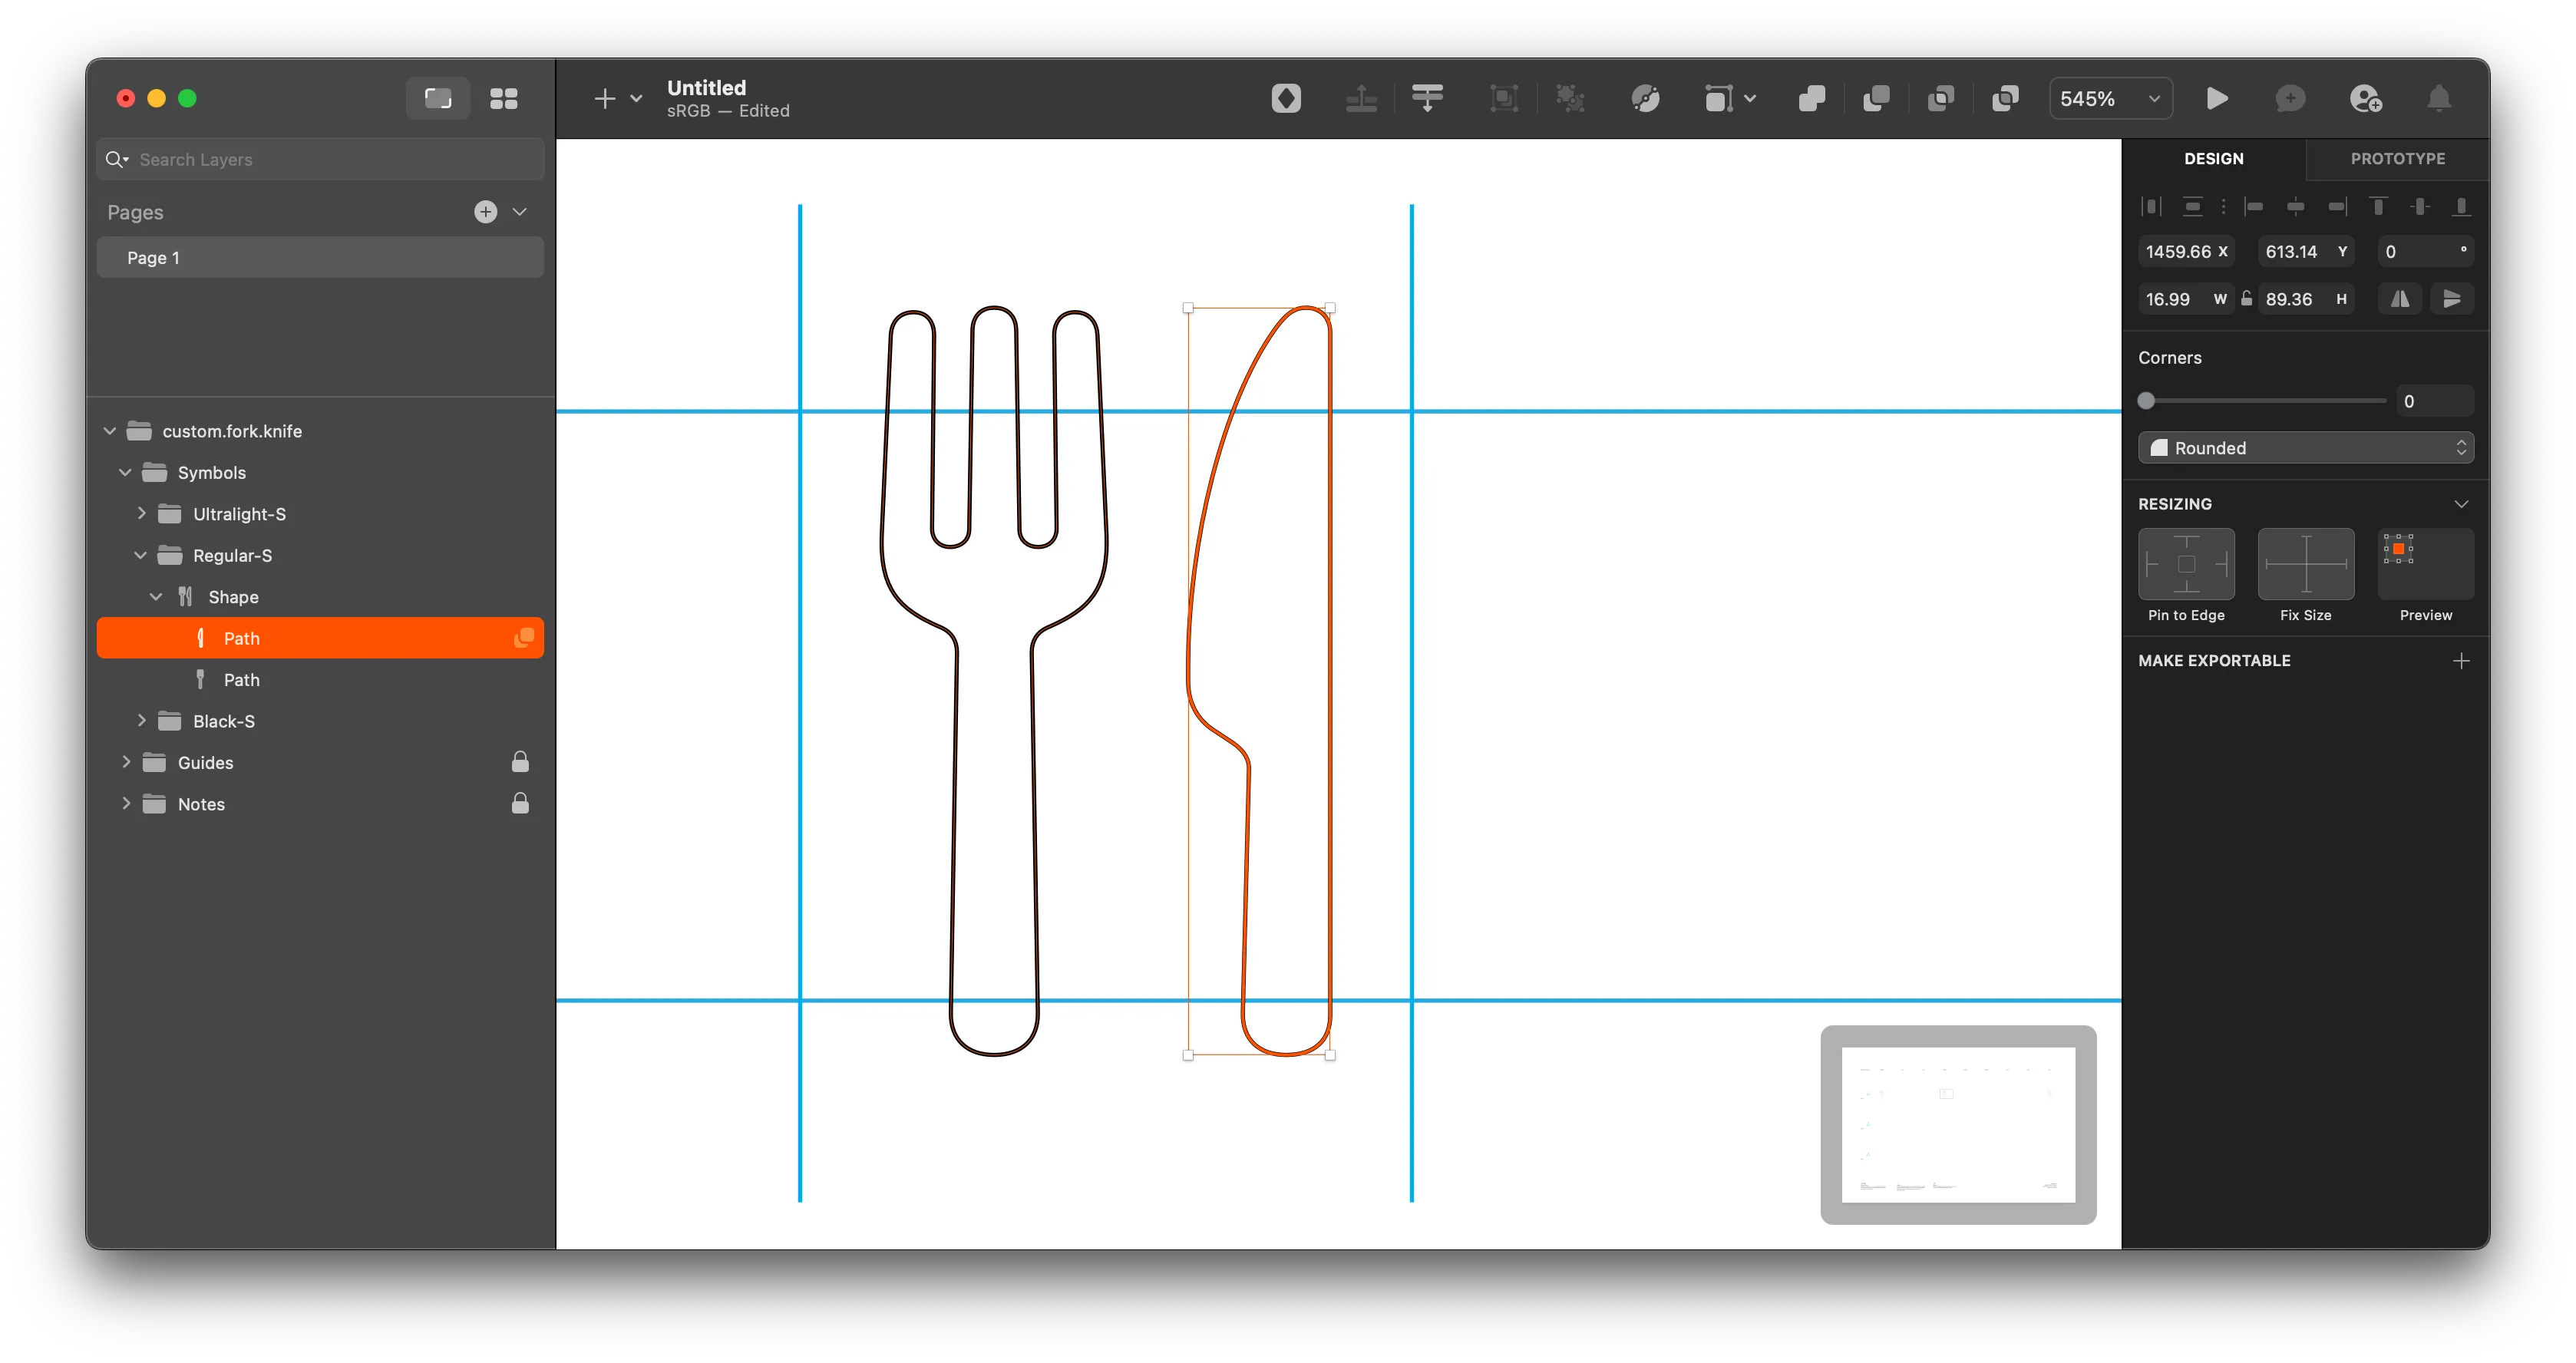
Select the knife path and delete it. Then move the fork path in the middle between the two guides. Repeat for other two variants.
By default, Sketch app doesn’t show rulers or guides. You can add them yourself to make sure your symbols are all aligned between the guides.
Export the template
Before exporting the template, we need to rename the symbol. Double-click the root folder with the symbol name and rename the symbol to fork.
Next, go to File -> Export… If you see a dialog asking you what you want to export, make sure to select Canvas. On the right pane, a new EXPORT window will open. Select SVG format in the dropdown and click on Export Selected… at the bottom.
Name the file fork and Save.
Validate the new symbol in SF Symbols app
Now we need to validate the symbol and add it to SF Symbols app.
Open SF Symbols. On the left pane, scroll down and select Custom Symbols folder. Drag and drop the fork.svg file.
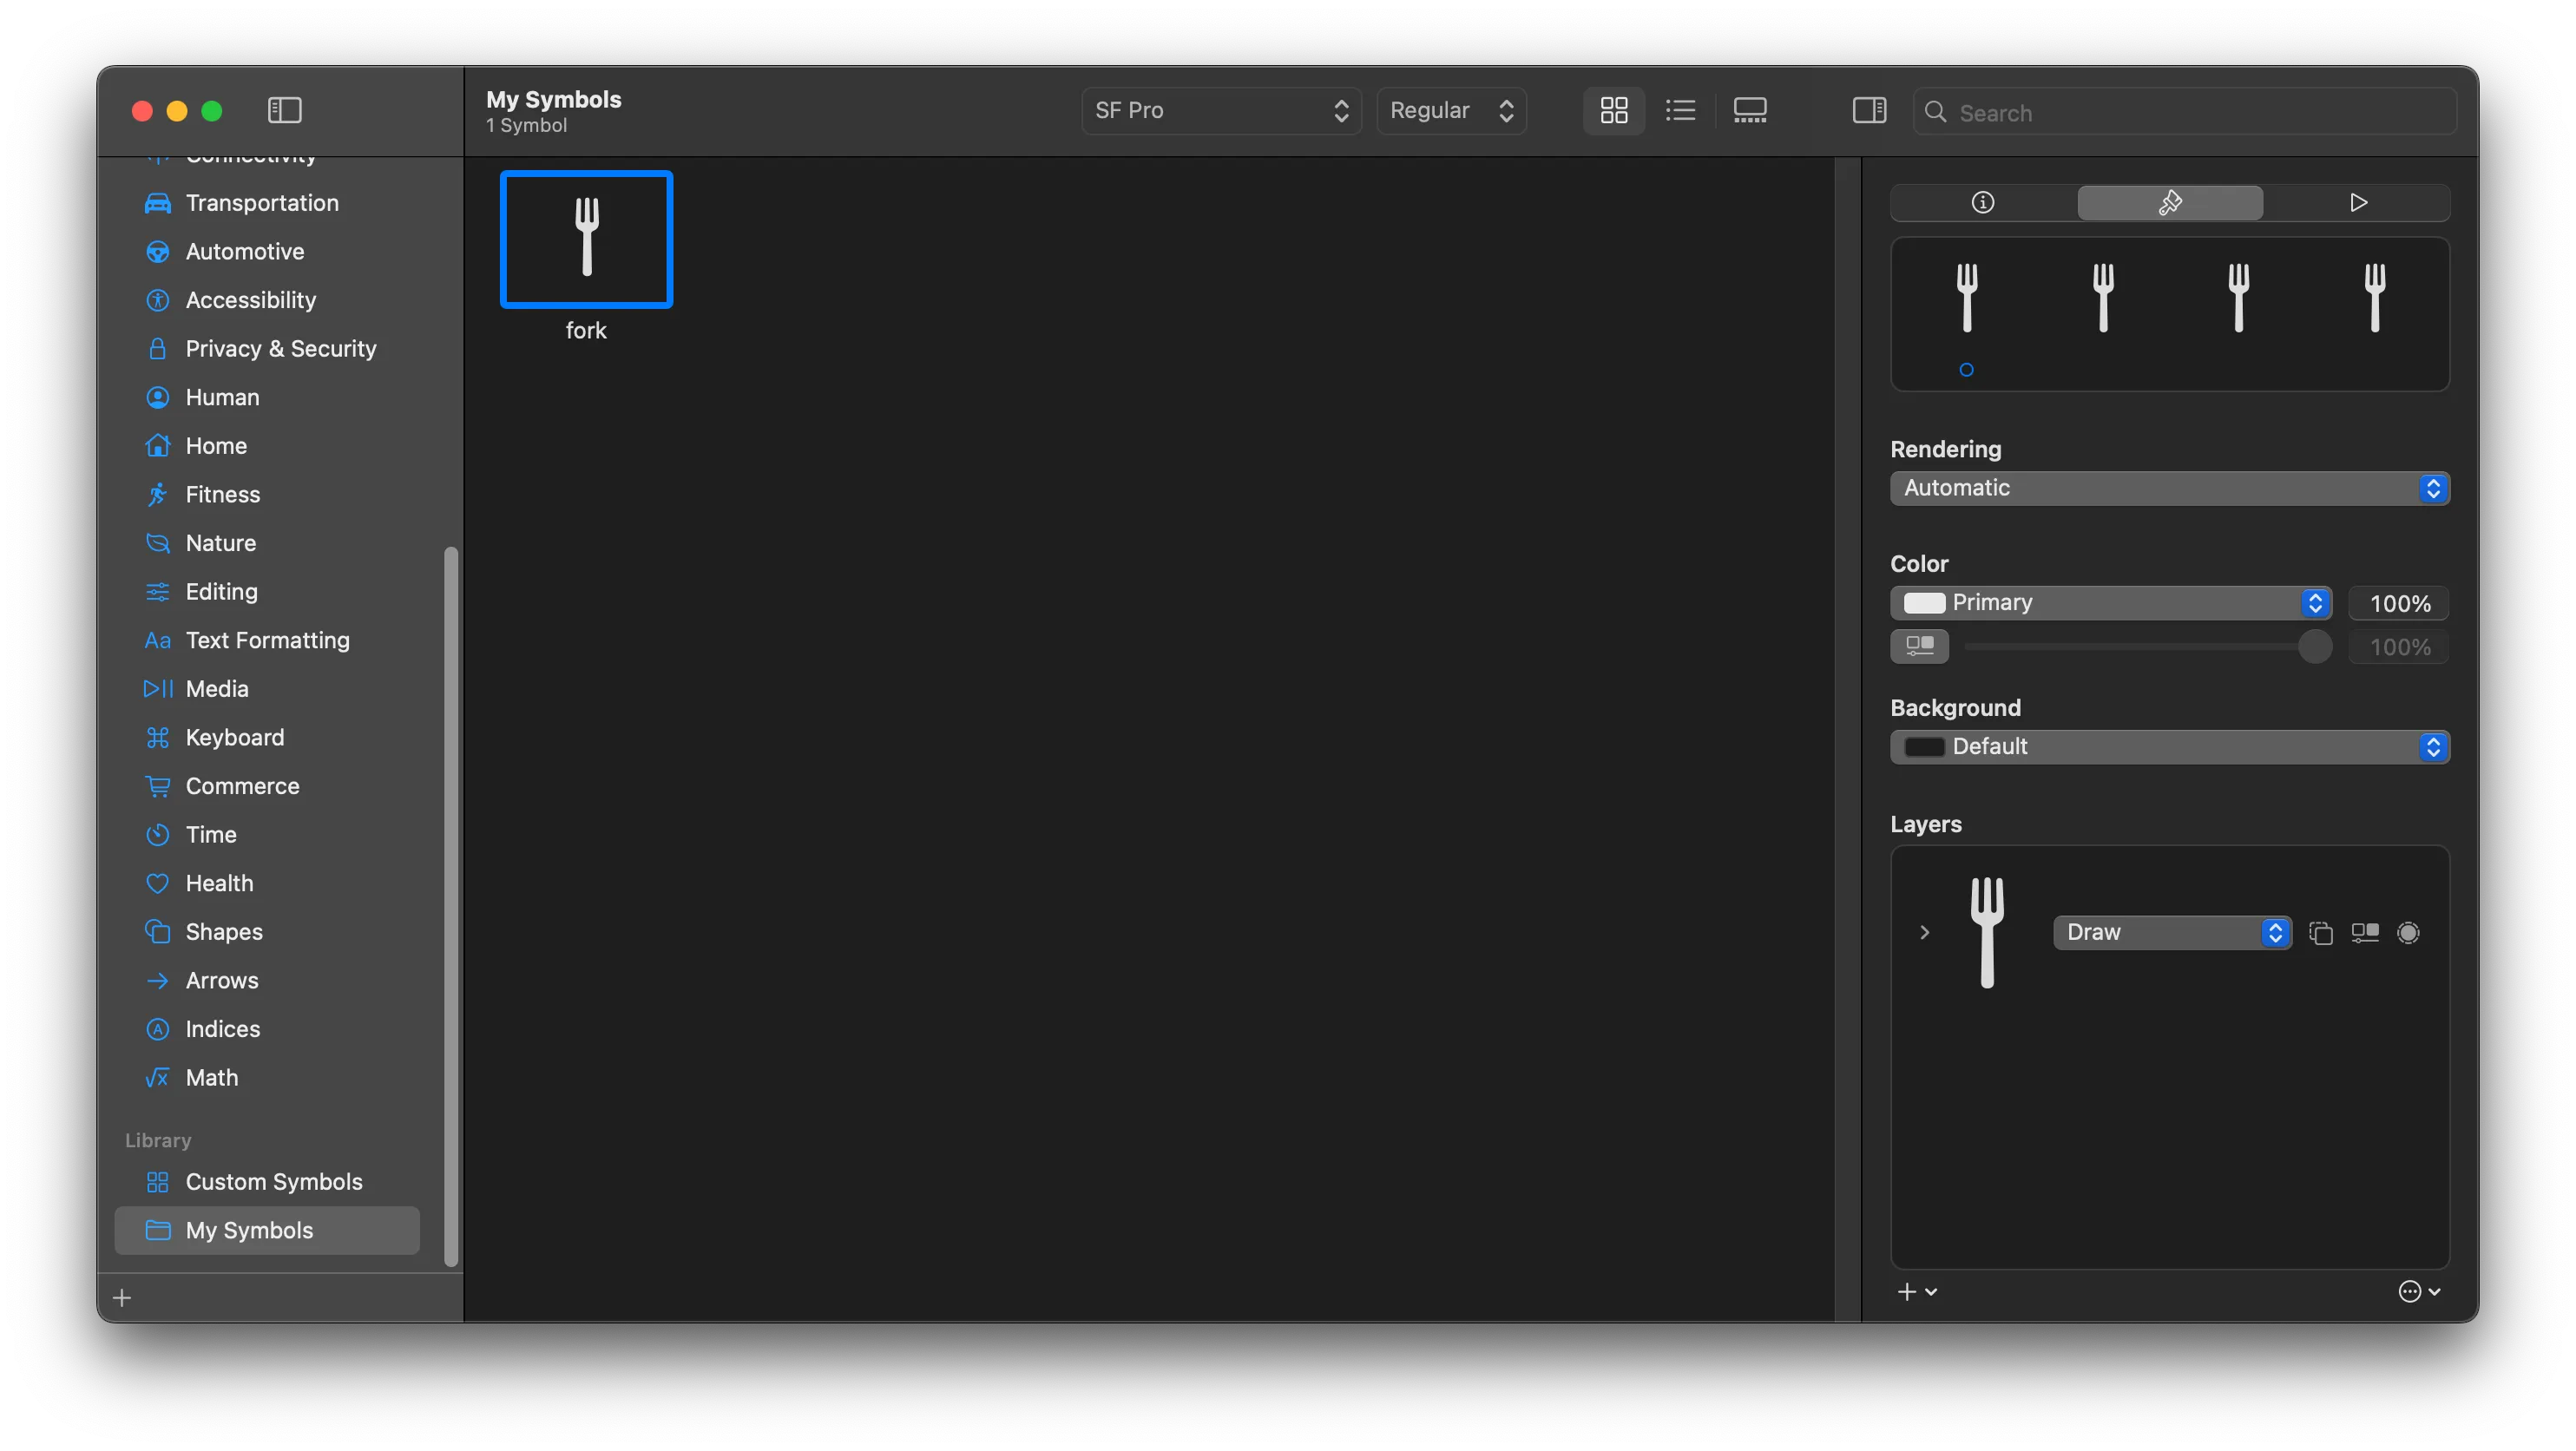
That’s it! If all worked out correctly without any issues, your new symbol is ready for use. You can play around with colors and animations. It will work as any other symbol.
If you later decide to update that same symbol, you need to drag and drop the .svg file onto the existing symbol and the app will ask if you want to update the current one.
Add symbol to your Xcode project
To add the new symbol to your Xcode project, you need to export it from SF Symbols and import it to Assets folder in Xcode.
Select the symbol and go to File -> Export Symbol…
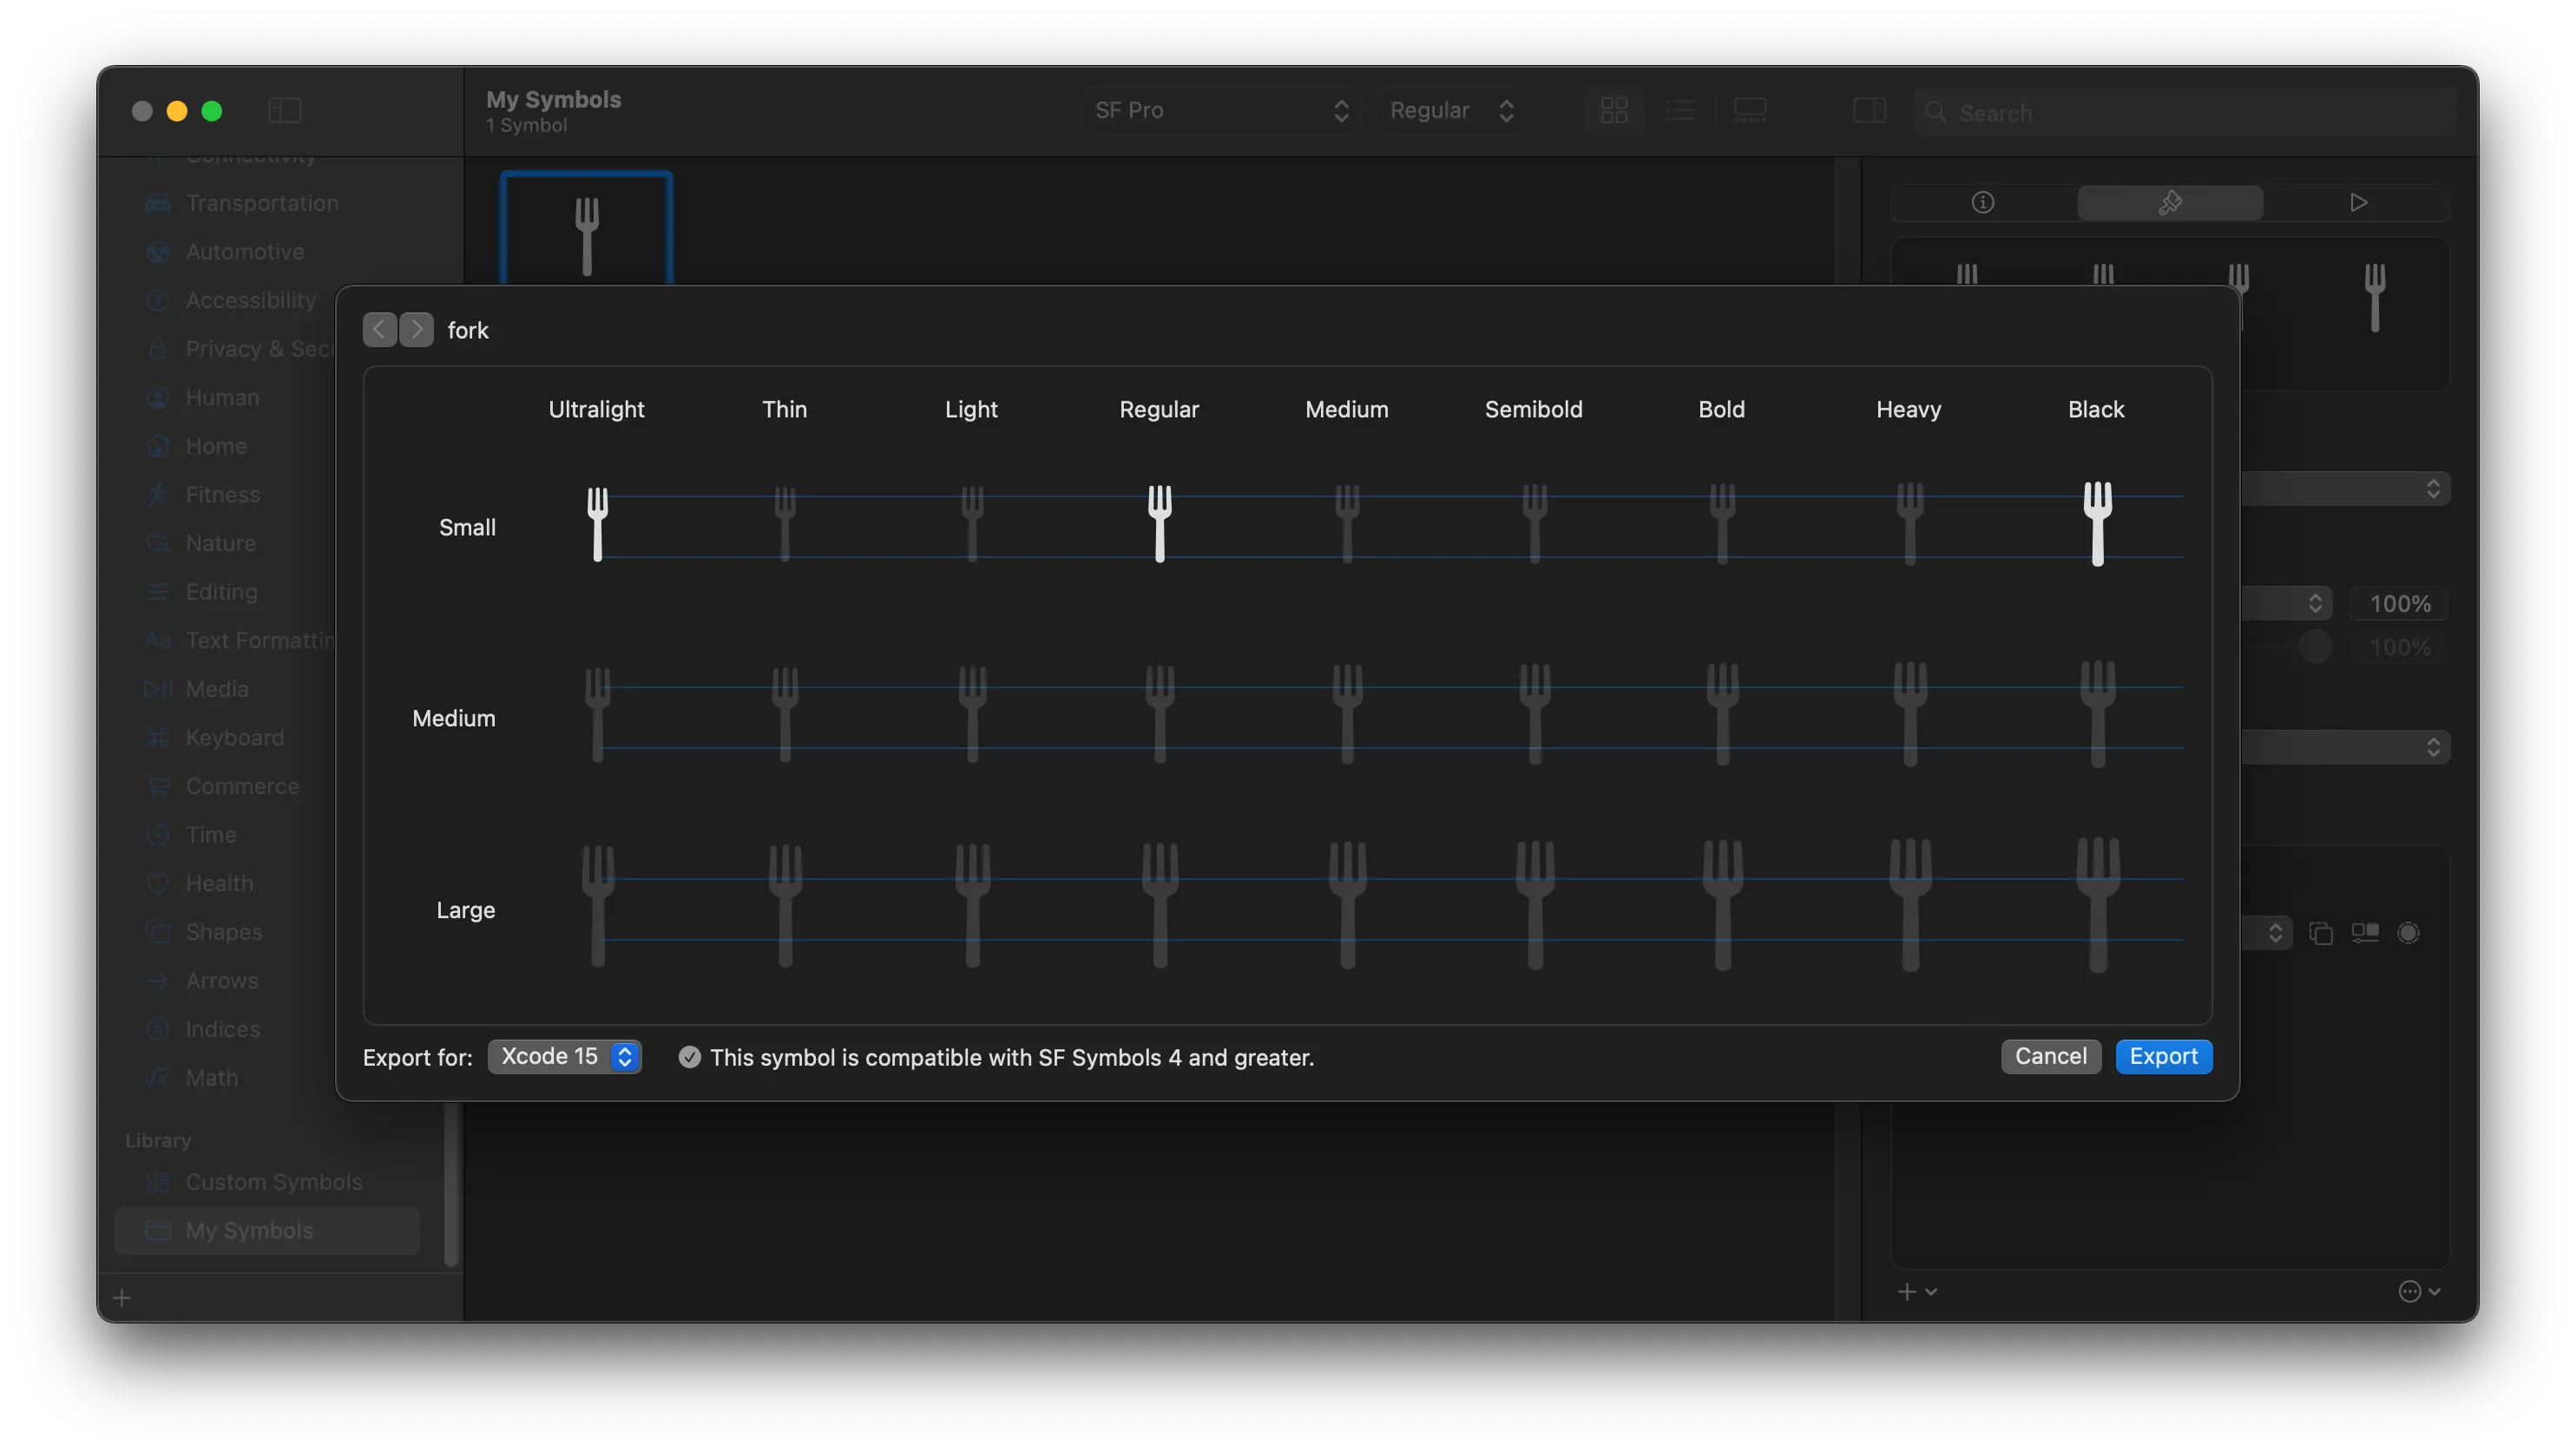
In the new window, you’ll see all the 27 variants created by the algorithm for you. Now click Export and save the file.
In Xcode, open Assets folder and drag and drop the file inside:

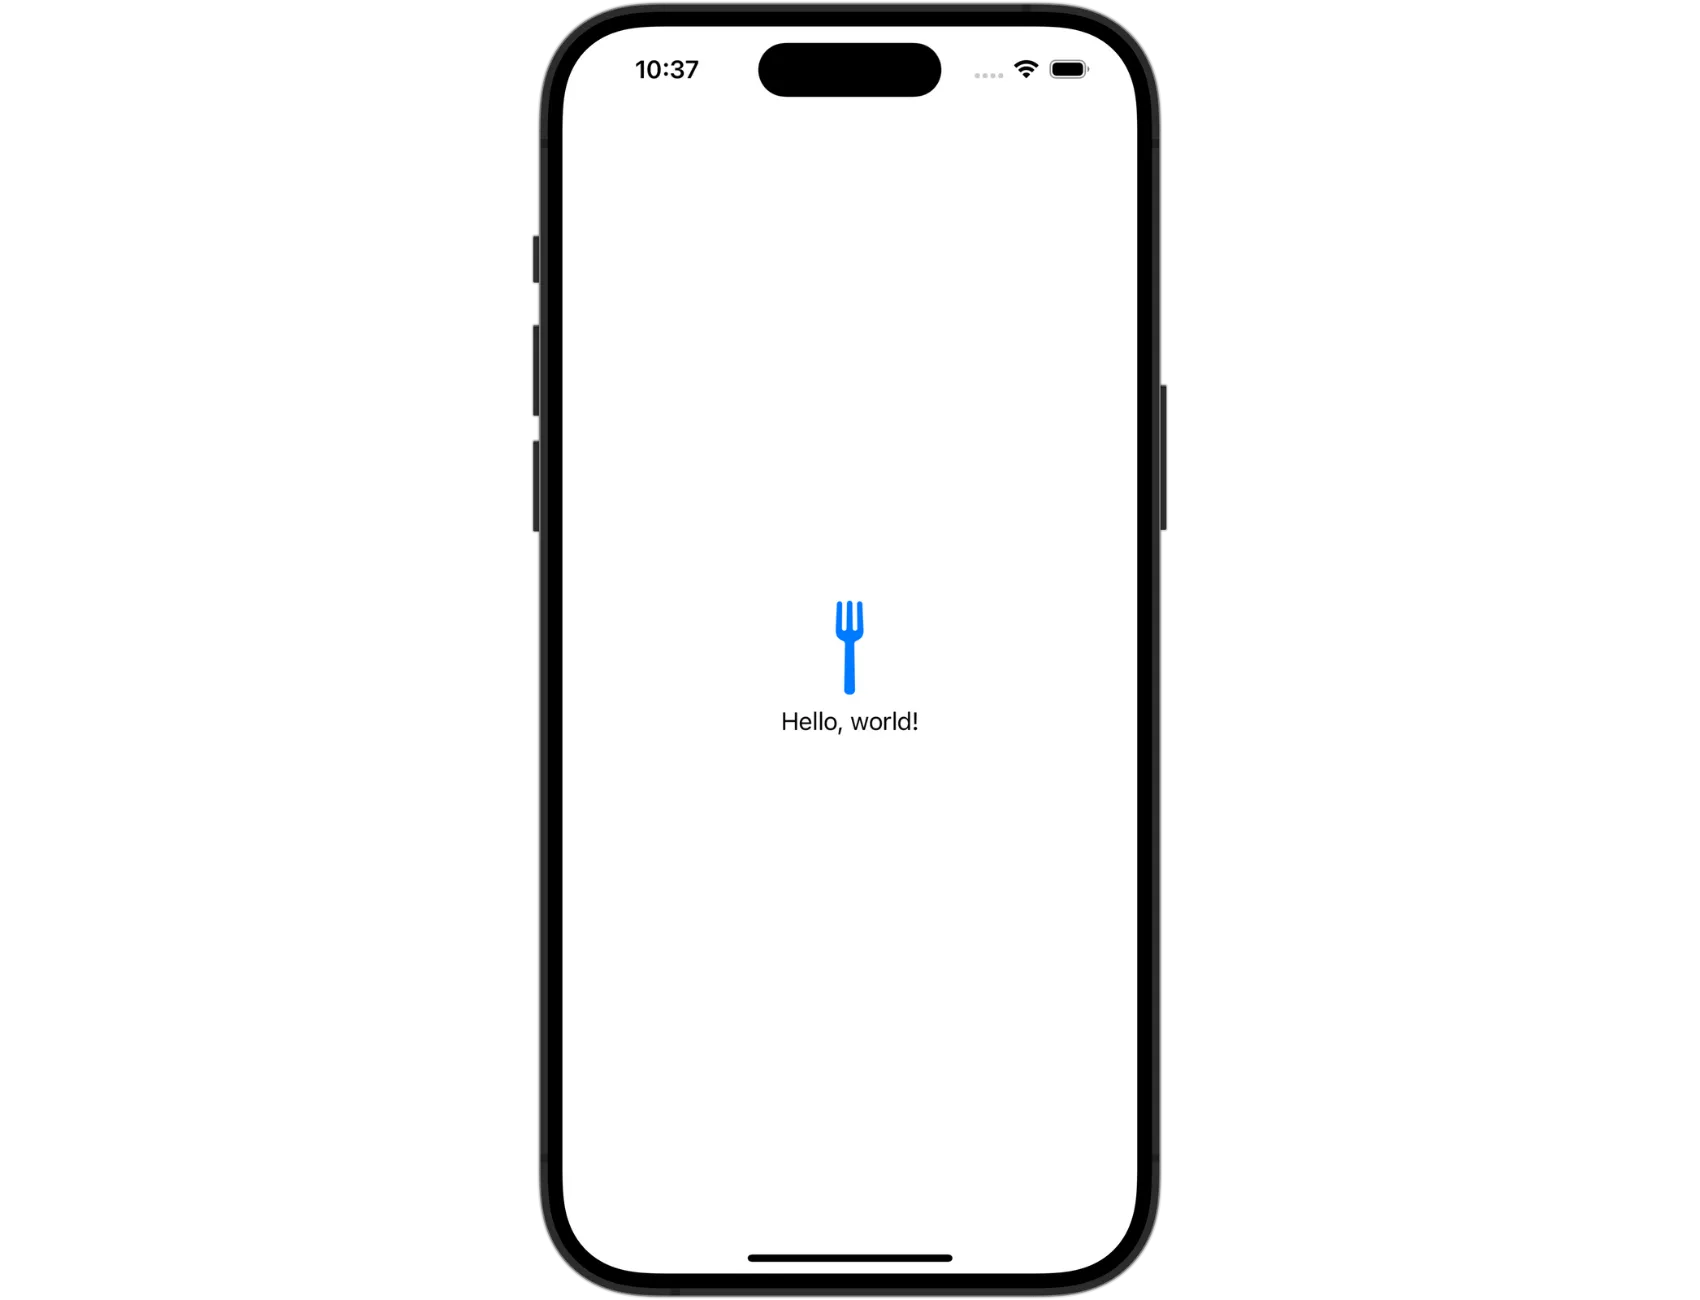
To add the symbol to your UI, you need to use the Image("fork") initializer. While it’s an SF symbol, it’s not part of the SF Symbols app that comes built-in with Xcode. It’s an imported symbol file.
Final Thoughts
I hope this article gives you a starting point if you ever want to edit or create a custom symbol in your app.
If you’d like to dive deep into the technical and design aspects of creating a custom symbol, I suggest reading the official documentation on Creating custom symbol images for your app where you can find more on how to customize your icons for different rendering modes.
Make sure to check the SF Symbols section of the Human Interface Guidelines for more information and best practices when using symbols in your apps.
Please feel free to reach out on X (Twitter) or Mastodon if you have any questions, comments, or feedback.
Thank you for reading!
