Publish: Creating Website Content with Markdown
If you're wondering how to get started using Publish, check the How to Create a Personal Website in Swift using Publish post. Continue reading to learn how to create content for your website with markdown files.
Project Structure
Publish generates static websites as Xcode Packages where the executable product is your website.
When you open Package.swift for the first time, you'll see the following folder structure:
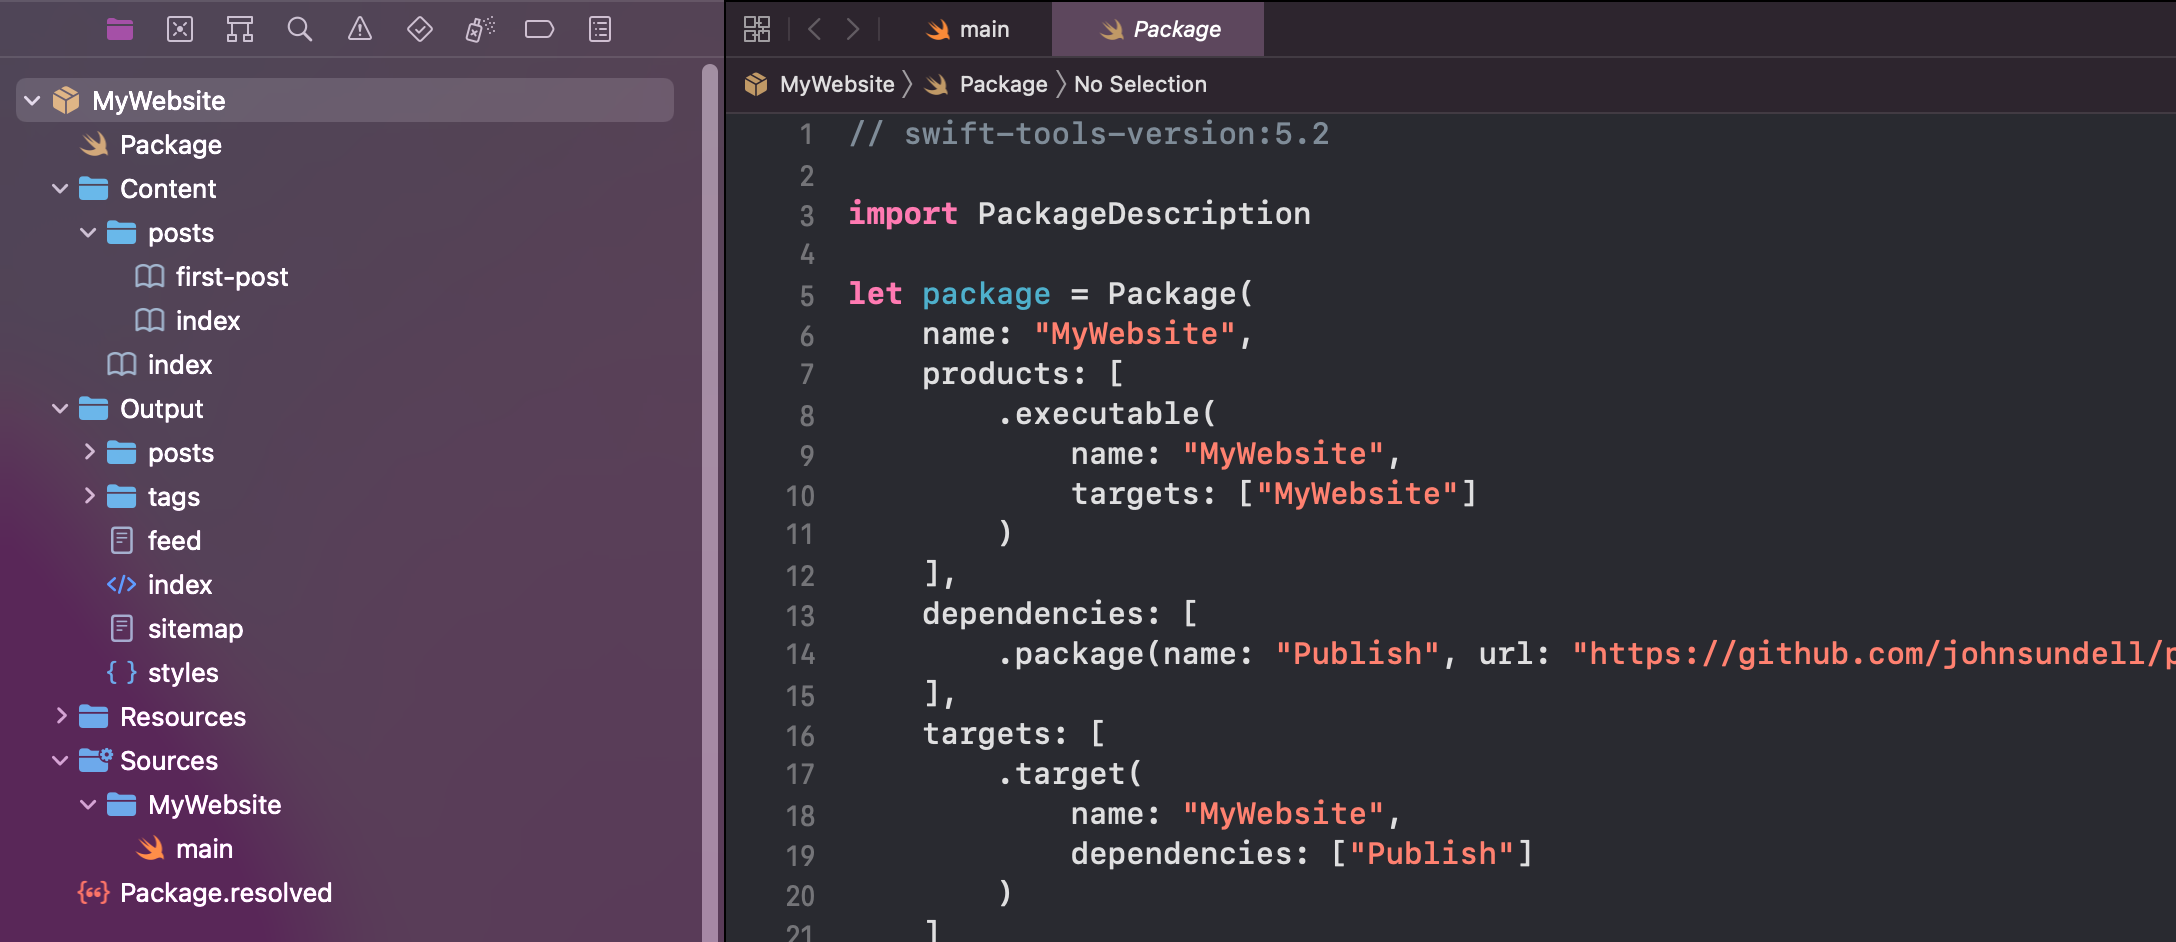
Content
Content is where you put your website's content; blog posts, sections, and pages.
Publish lets you generate your website's content in two ways: by using markdown files or programmatically. When you add markdown files to Content, Publish parses the content automatically. It uses Ink markdown parser library, created by John Sundell.
We'll explore how to generate content with markdown files in the rest of the article.
Output
Output is the main folder of your website. It contains all the files necessary to display the content of the website. It's generated every time you build the project in Xcode. Once you start adding more content and custom pages to your website, you'll see more files and folders appear.
You don't add or edit anything in this folder as it contains all the content and information to generate your website. Consider it as read-only. You'll see feed and sitemap files there along with styles.css. This CSS file is the pre-defined styling for your website, but you'll learn how to customize it and add custom styling in the later post.
Resources
Resources is where you add any media files for your content, like images, videos, audio, and fonts.
Sources
Sources has all the Swift files to build your website. Currently, there's one main.swift file which contains a configuration information for your website. You can add sections, specific item metadata, website properties, and configure publishing steps:
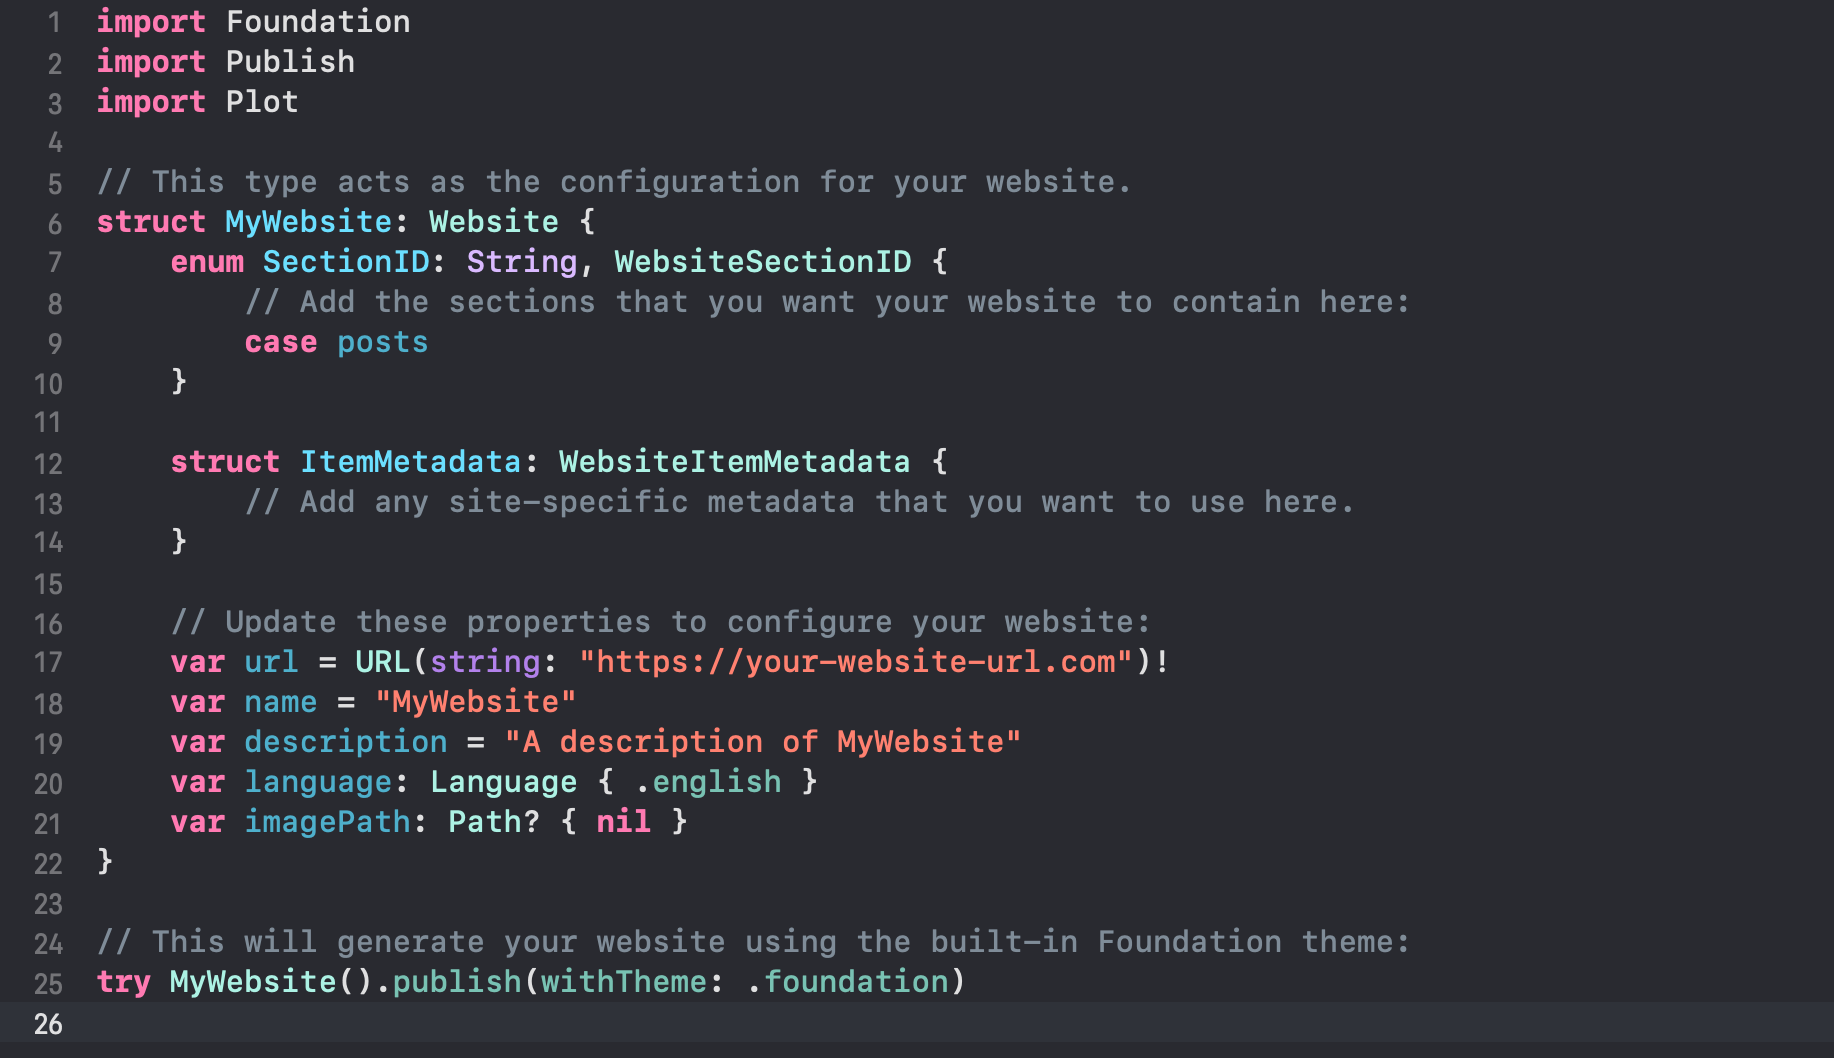
Publish uses specific terminology to refer to basic structure of the website. Pages are standalone webpages on your website. Sections are special types of webpages, navigated using navigation menu. Items are blog posts.
Content Structure
When you first generate your website, you'll see two items in Content; index.md file and posts folder. Inside posts, there are two files: index.md and first-post.md.
The root index file is your website's homepage. You can see it when you open the website in your browser:
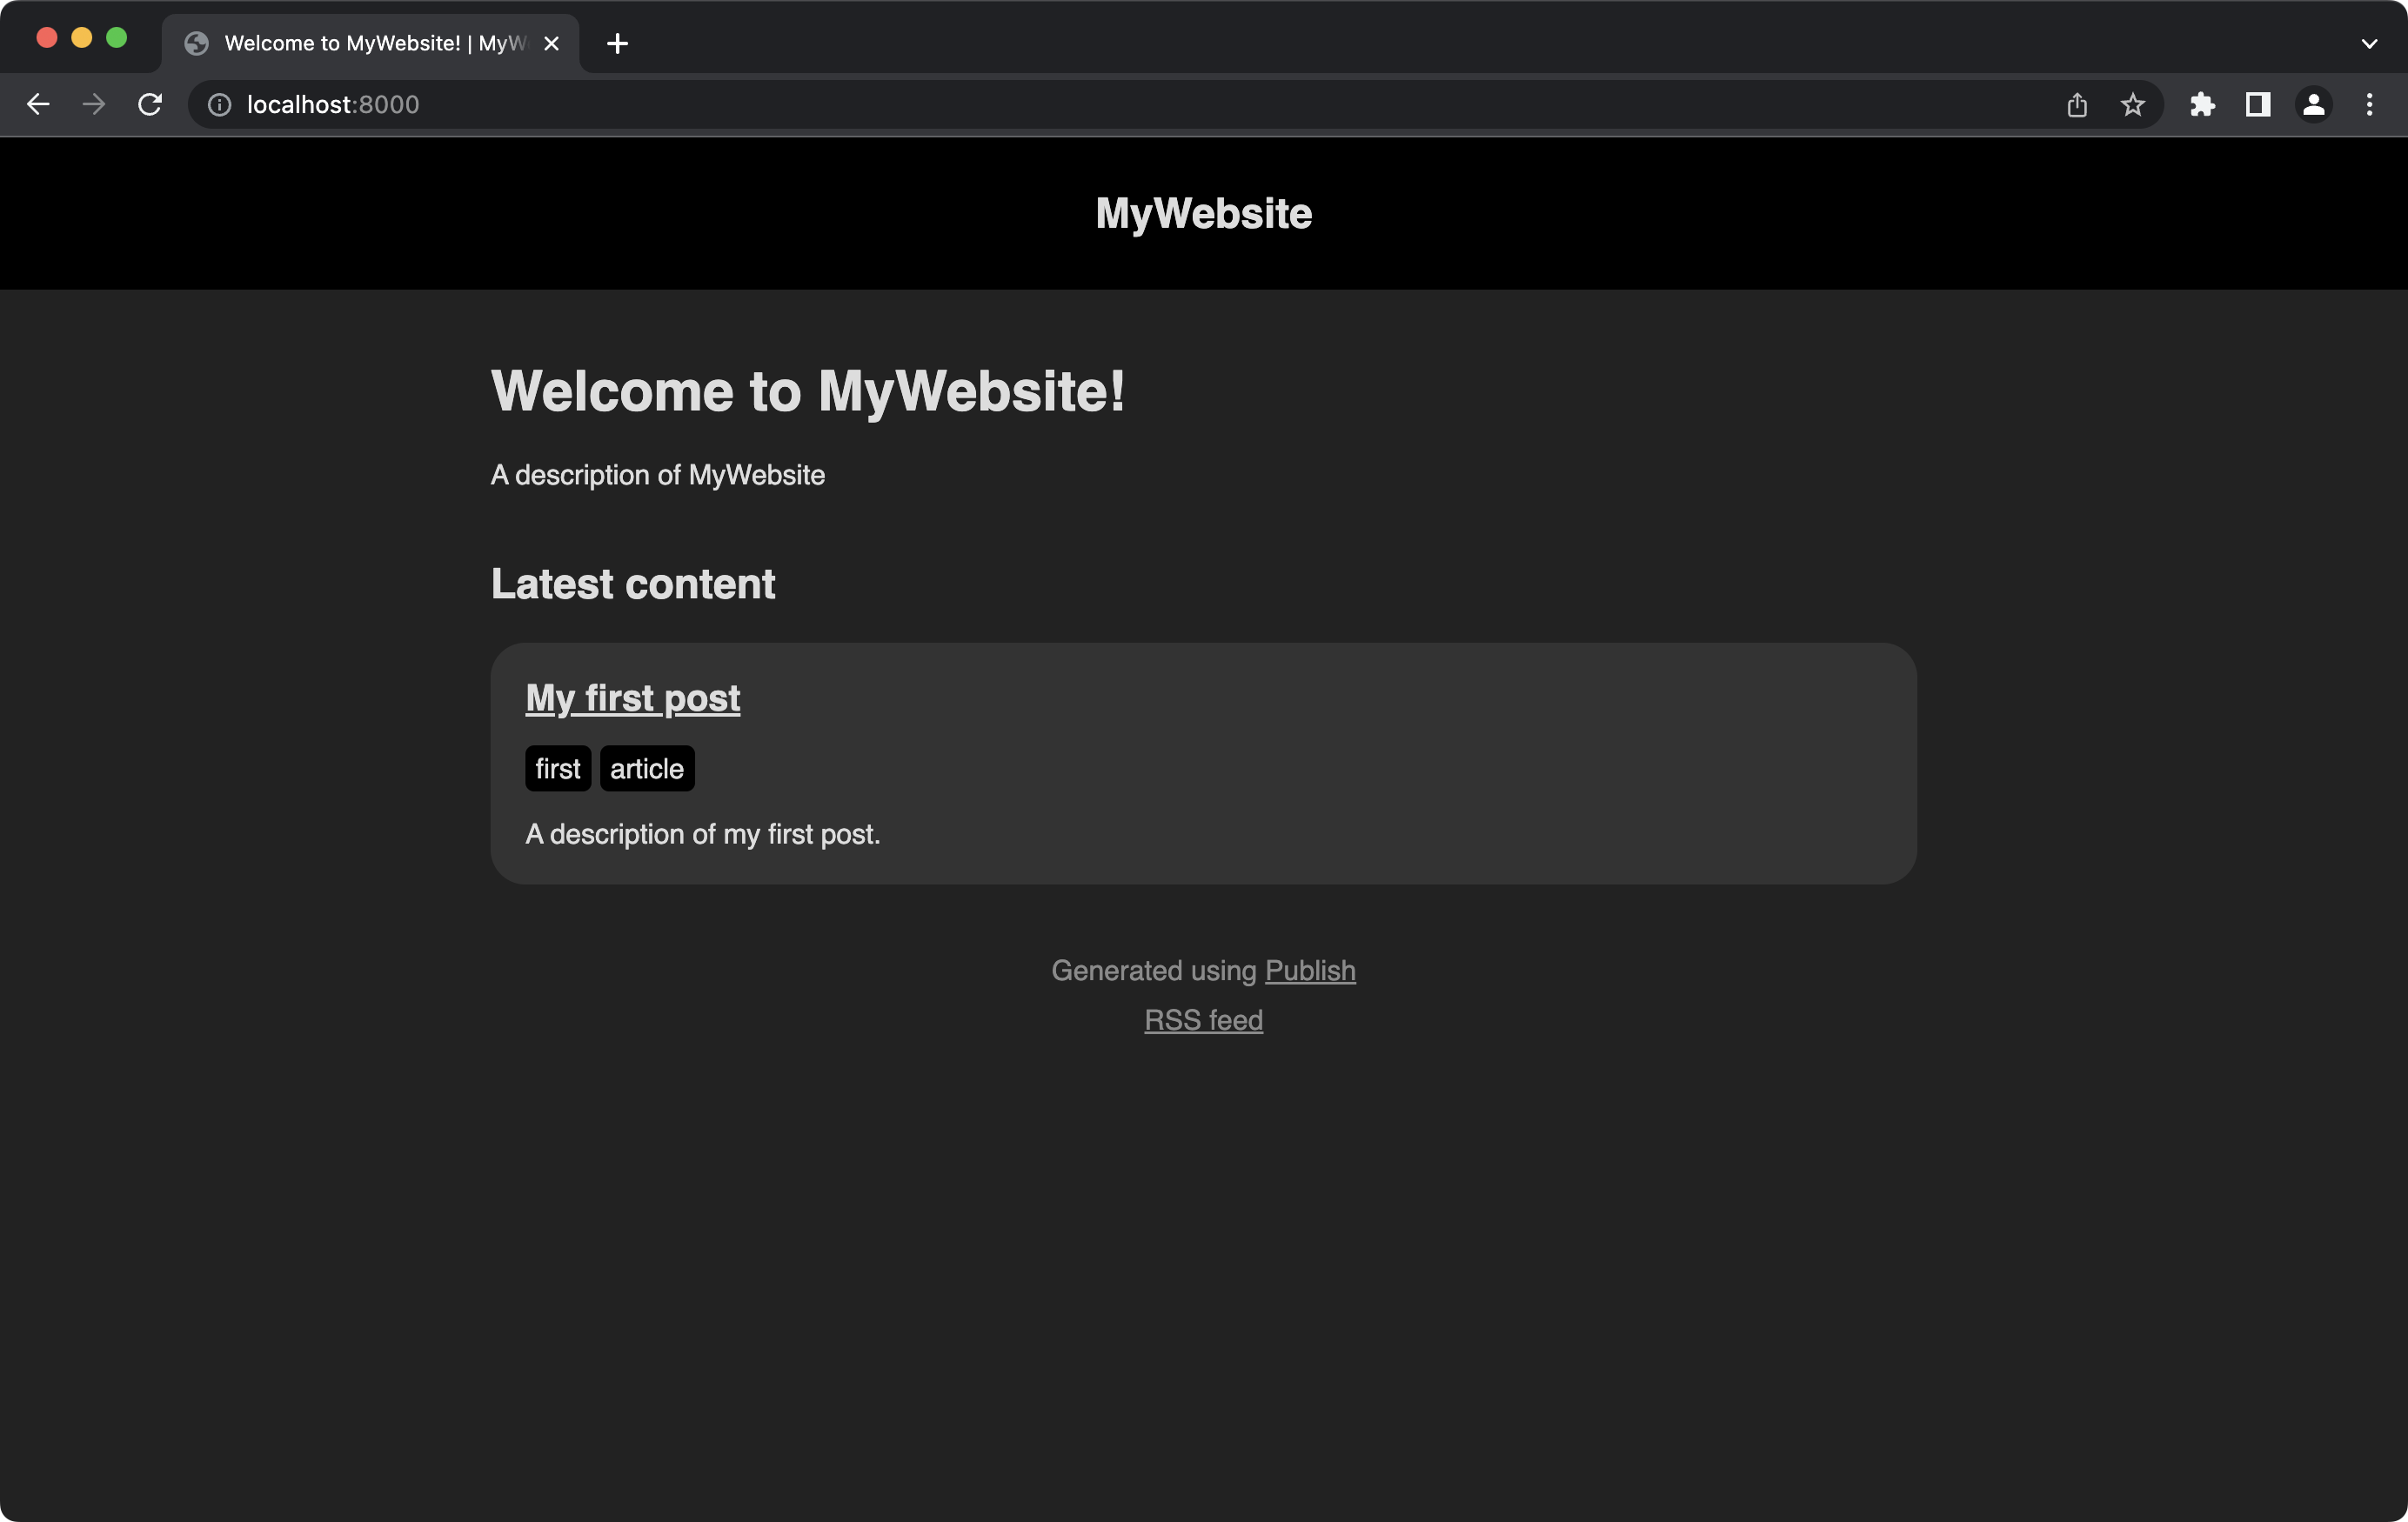
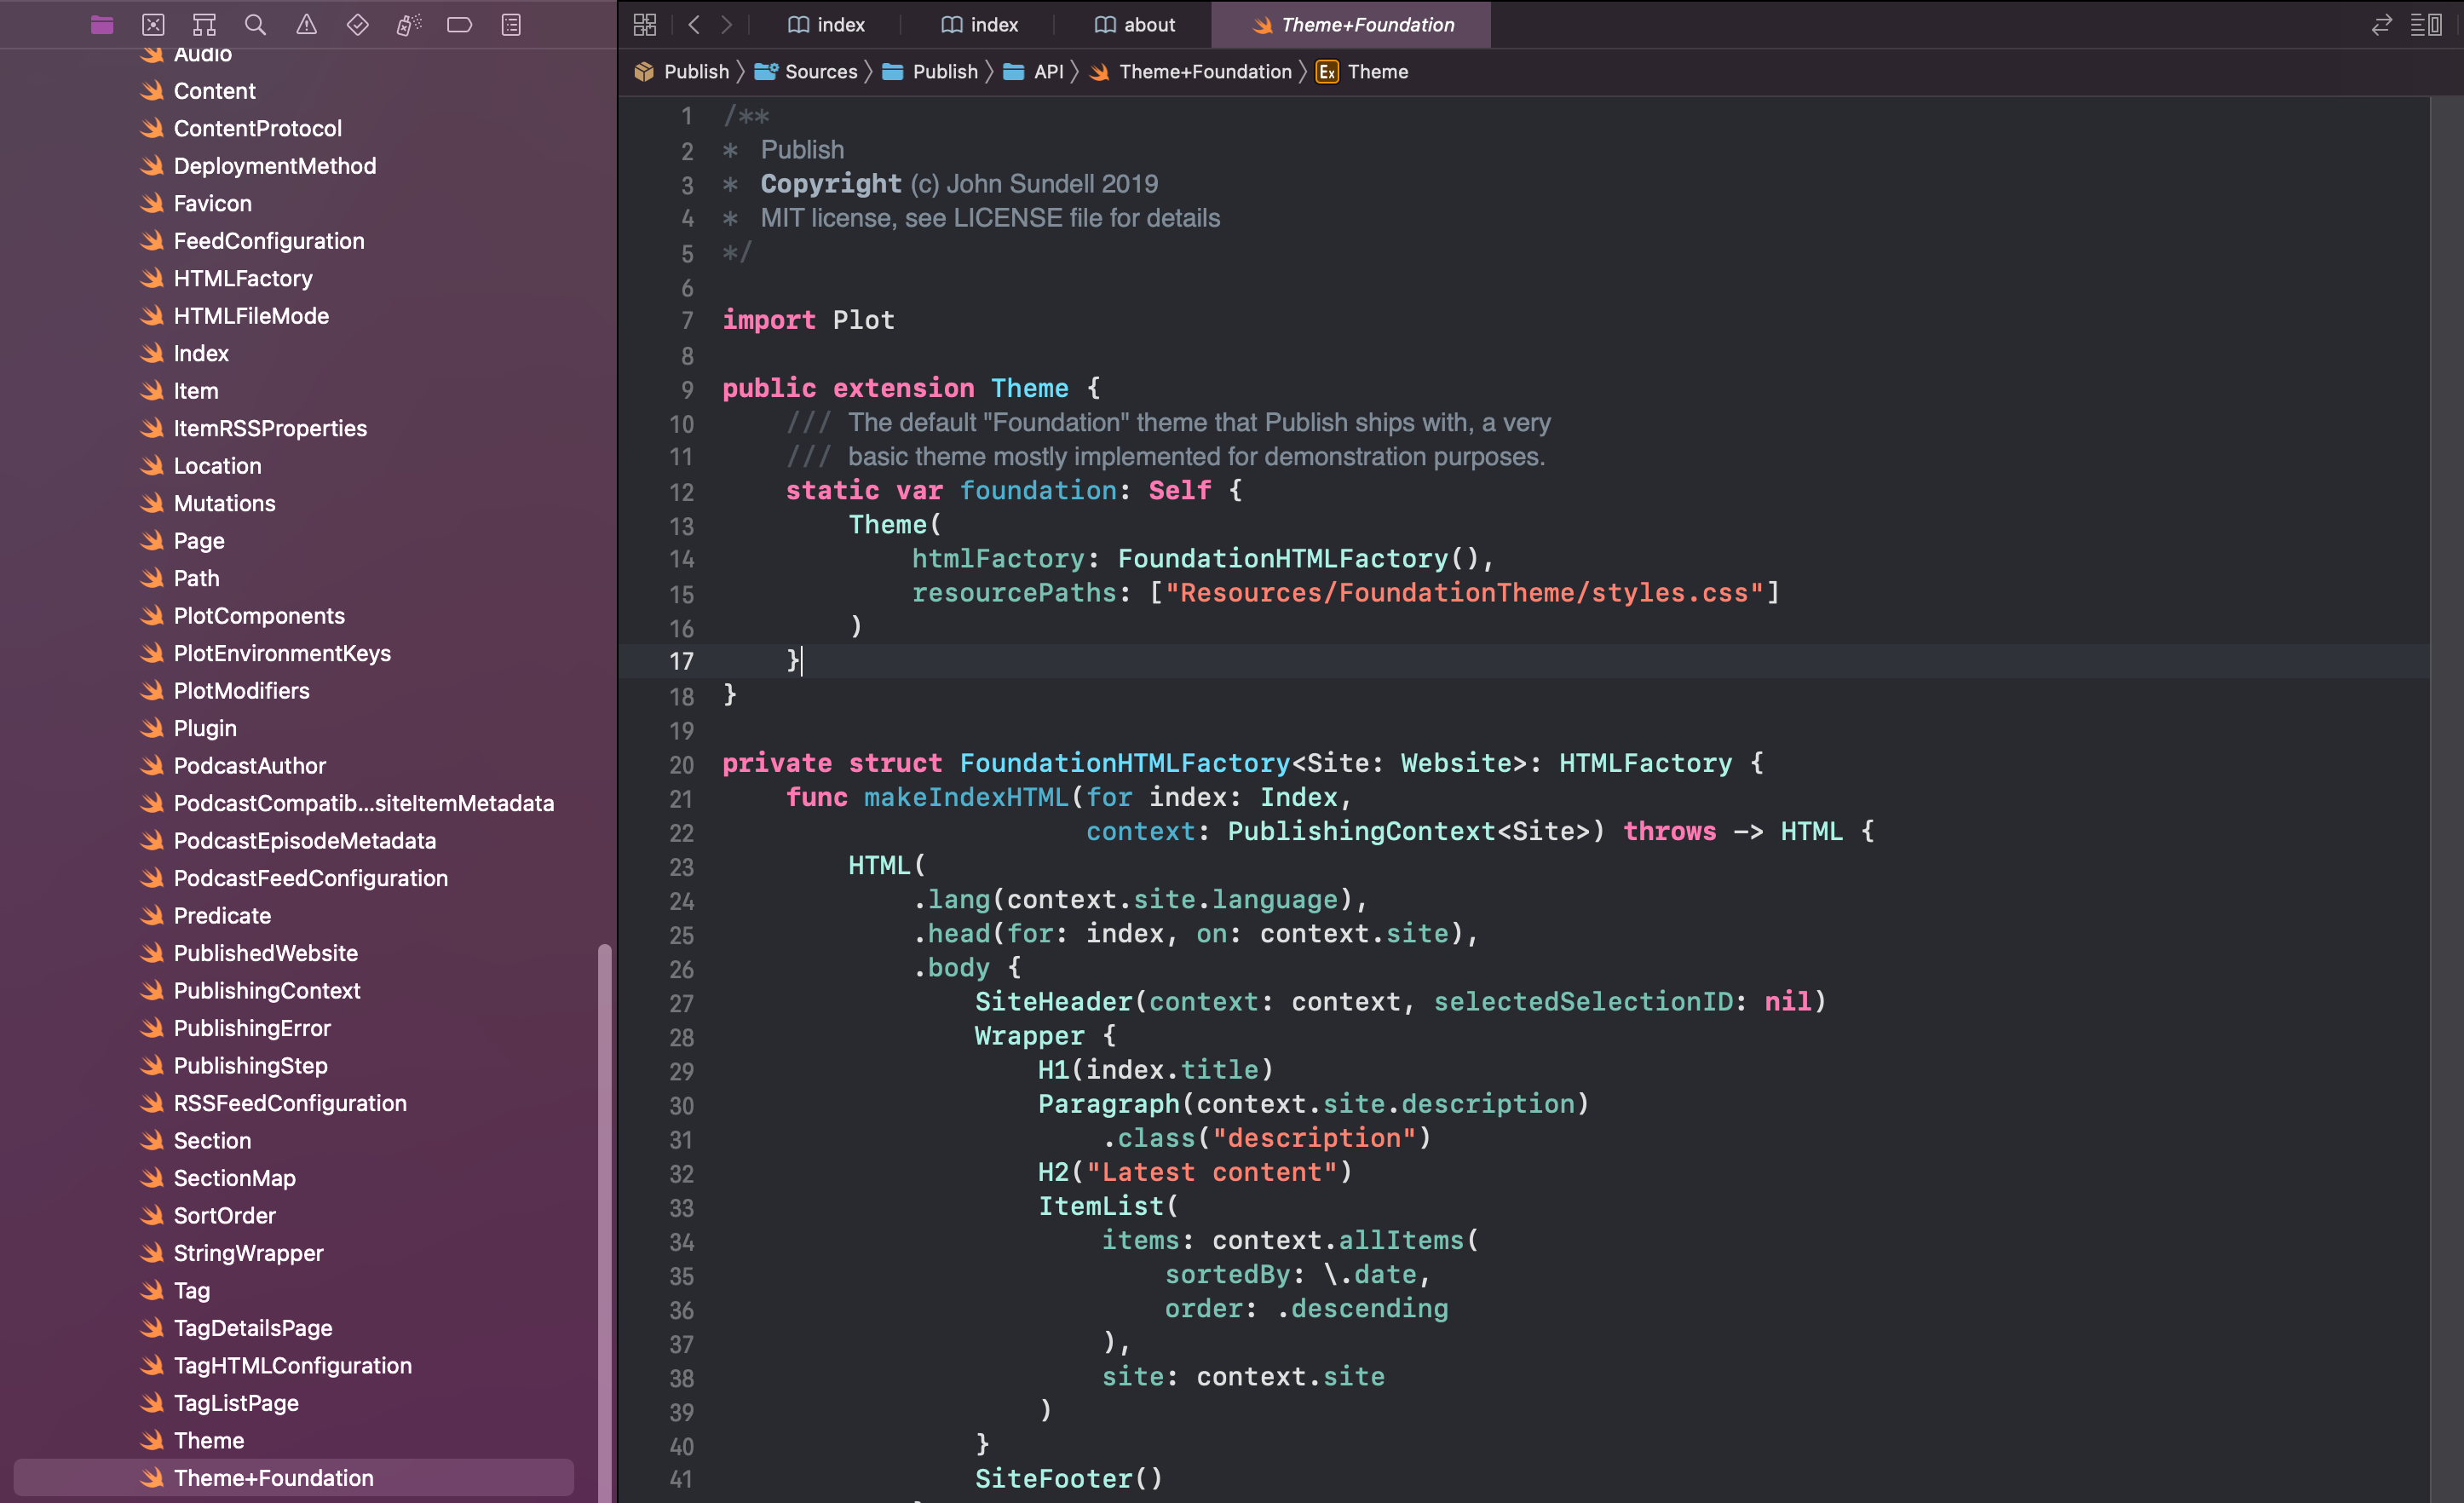
Right now, if you try to add anything inside the markdown file it won't render on the website. As you can see, the file is empty, but the homepage of your website has some data displayed. These components get added programmatically using the built-in Foundation theme that Publish ships with. Anything you add in both index files is overriden programmatically.
You won't be creating a custom theme in this post, but you can take a look at the built-in theme and how the components get created programmatically. Under Package Dependencies, find Publish and expand it. Go to Sources -> Publish -> API and open Theme+Foundation file:
We'll take a look at how to build a custom theme in one of the future posts.
You can try adding more markdown files to posts as additional blog posts and once you build your website, they will all appear on your homepage.
Adding Sections
Open main.swift file and add two more sections under SectionID. You can add any section you want. Let's add about and portfolio sections:
// This type acts as the configuration for your website.
struct MyWebsite: Website {
    enum SectionID: String, WebsiteSectionID {
        // Add the sections that you want your website to contain here:
        case posts
        // New sections
        case about
        case portfolio
    }
    ...
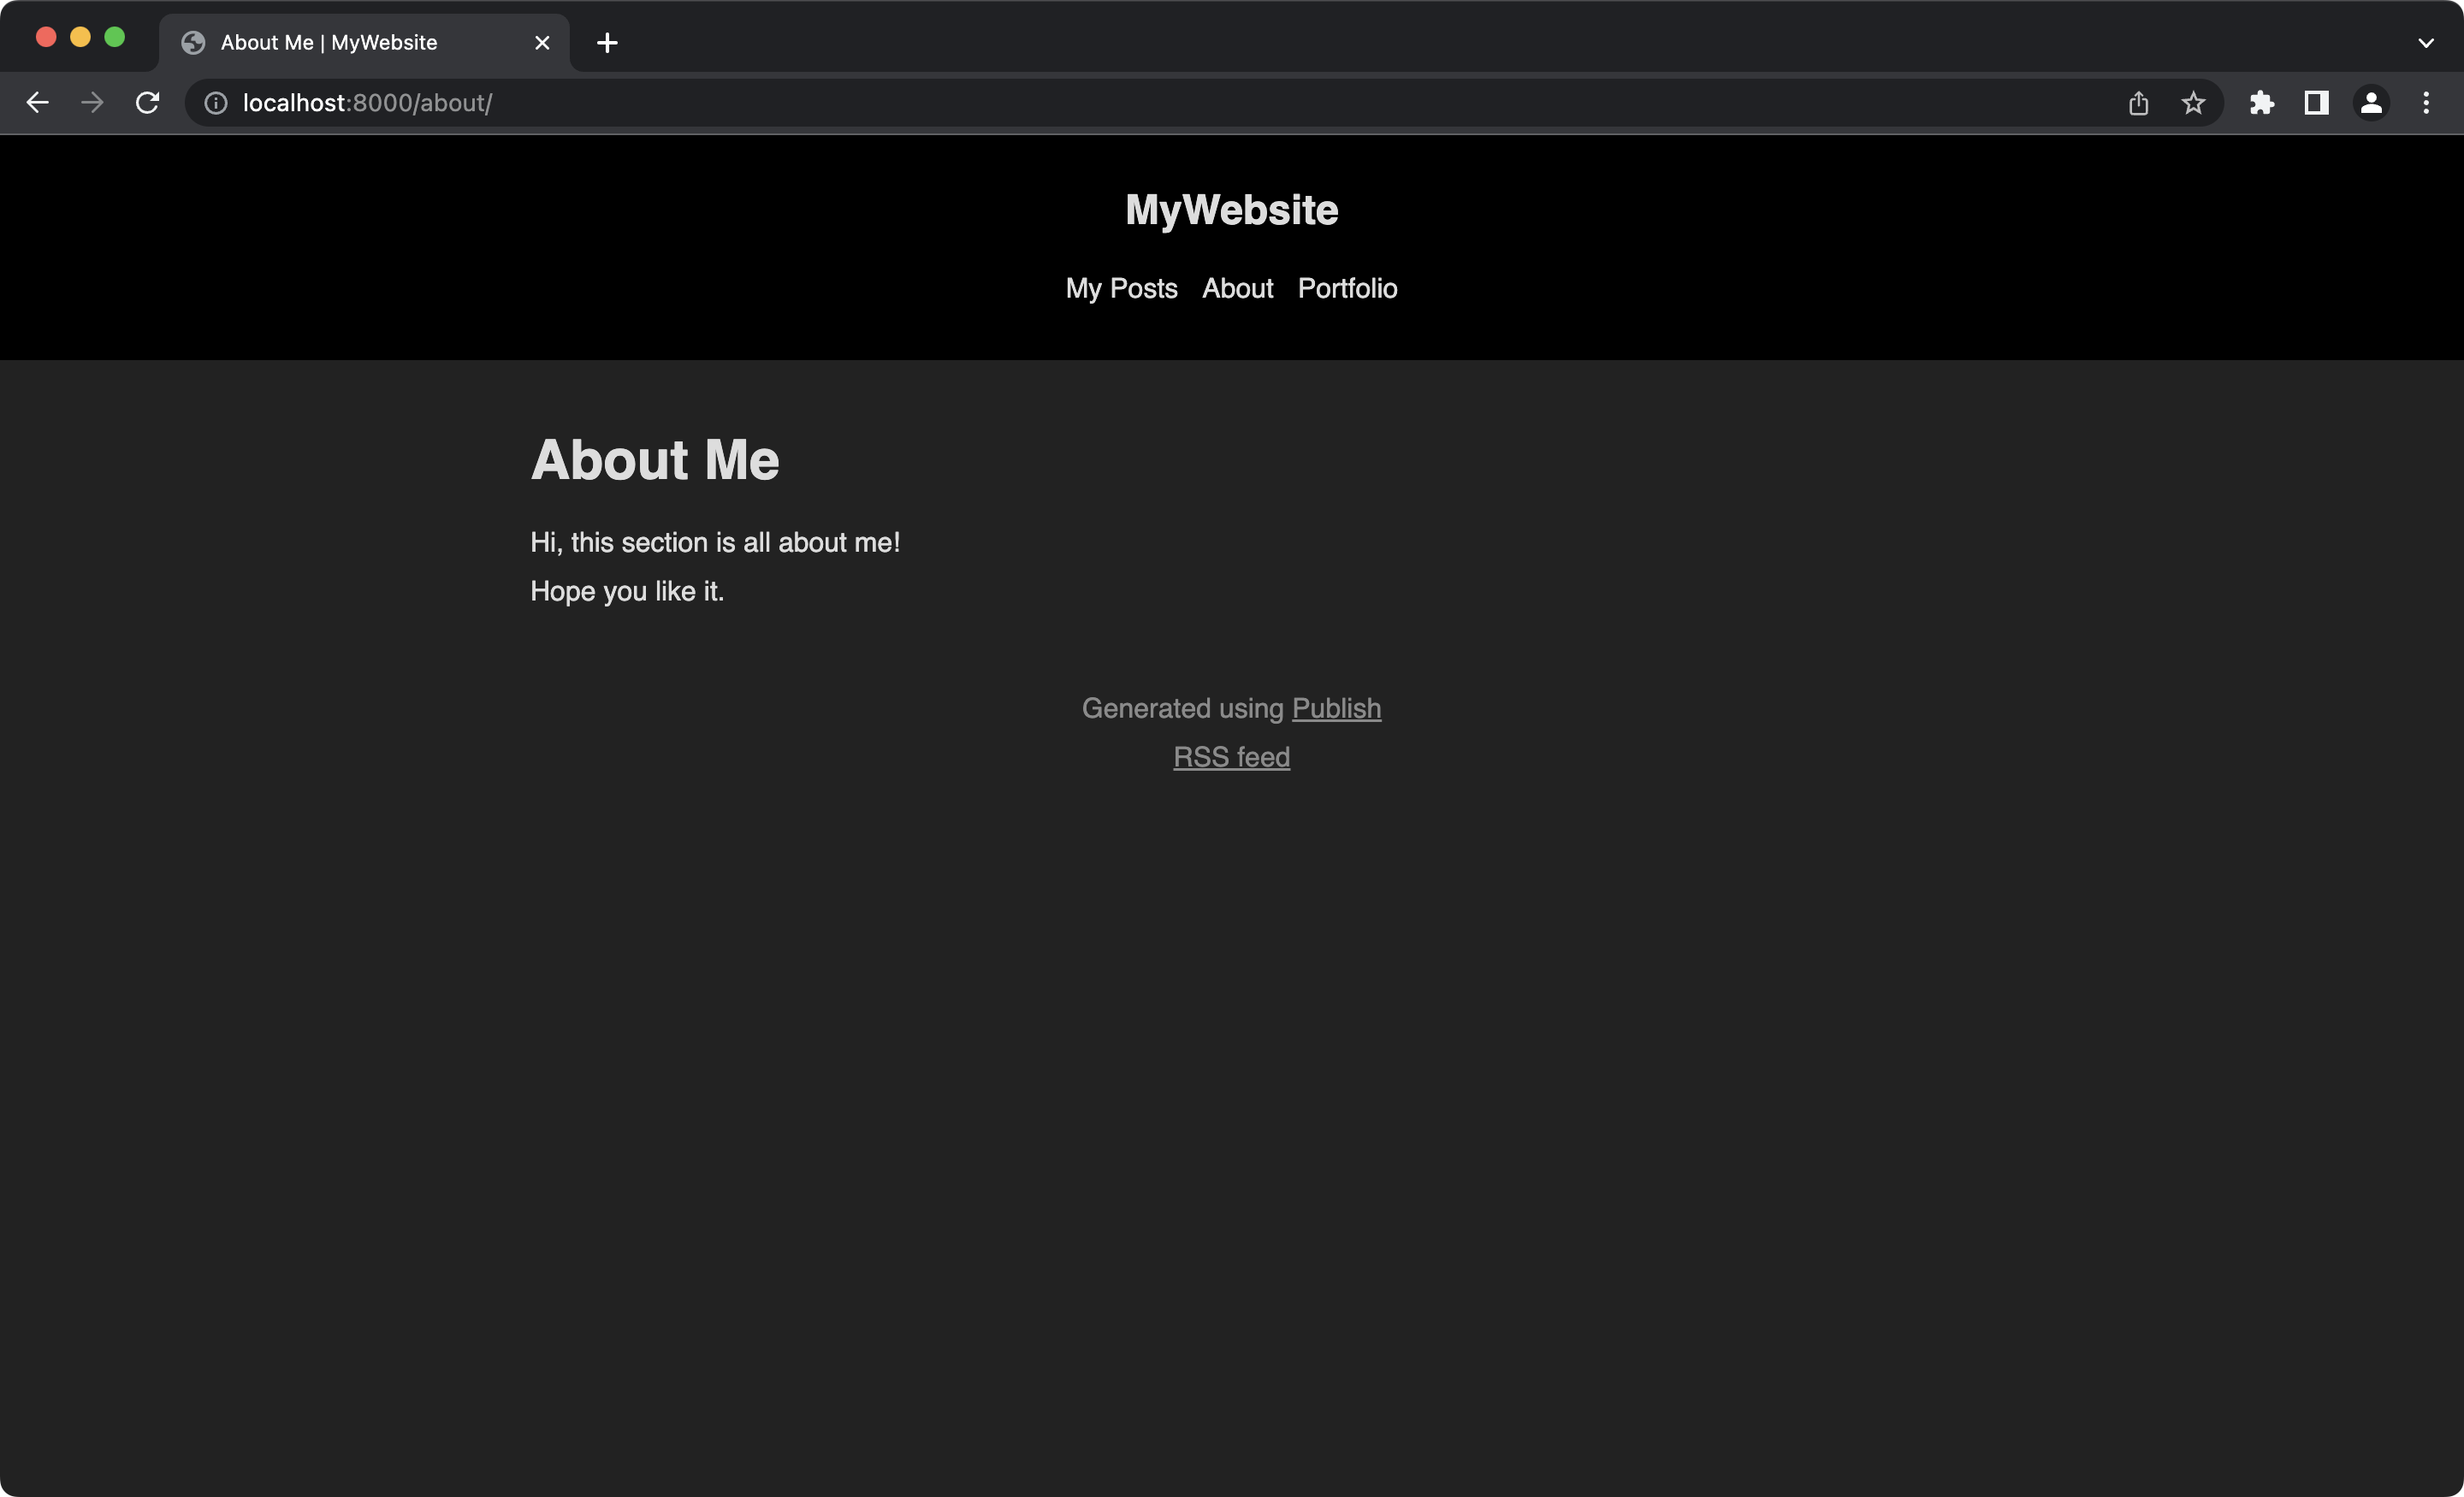
Build the project and you'll see two new folders under Output: about and portfolio. Refresh your website and you'll see two more sections in your navigation menu.
To populate your new section pages with content, add about.md and portfolio.md files to the root of Content folder. The files need to have the same name as sections. Then write some markdown inside. Build the project and refresh the website:
Adding Pages
To add standalone pages that you can navigate to using navigation menu, add the markdown file for the page in the root of Content. Then, link to the page anywhere you'd like.
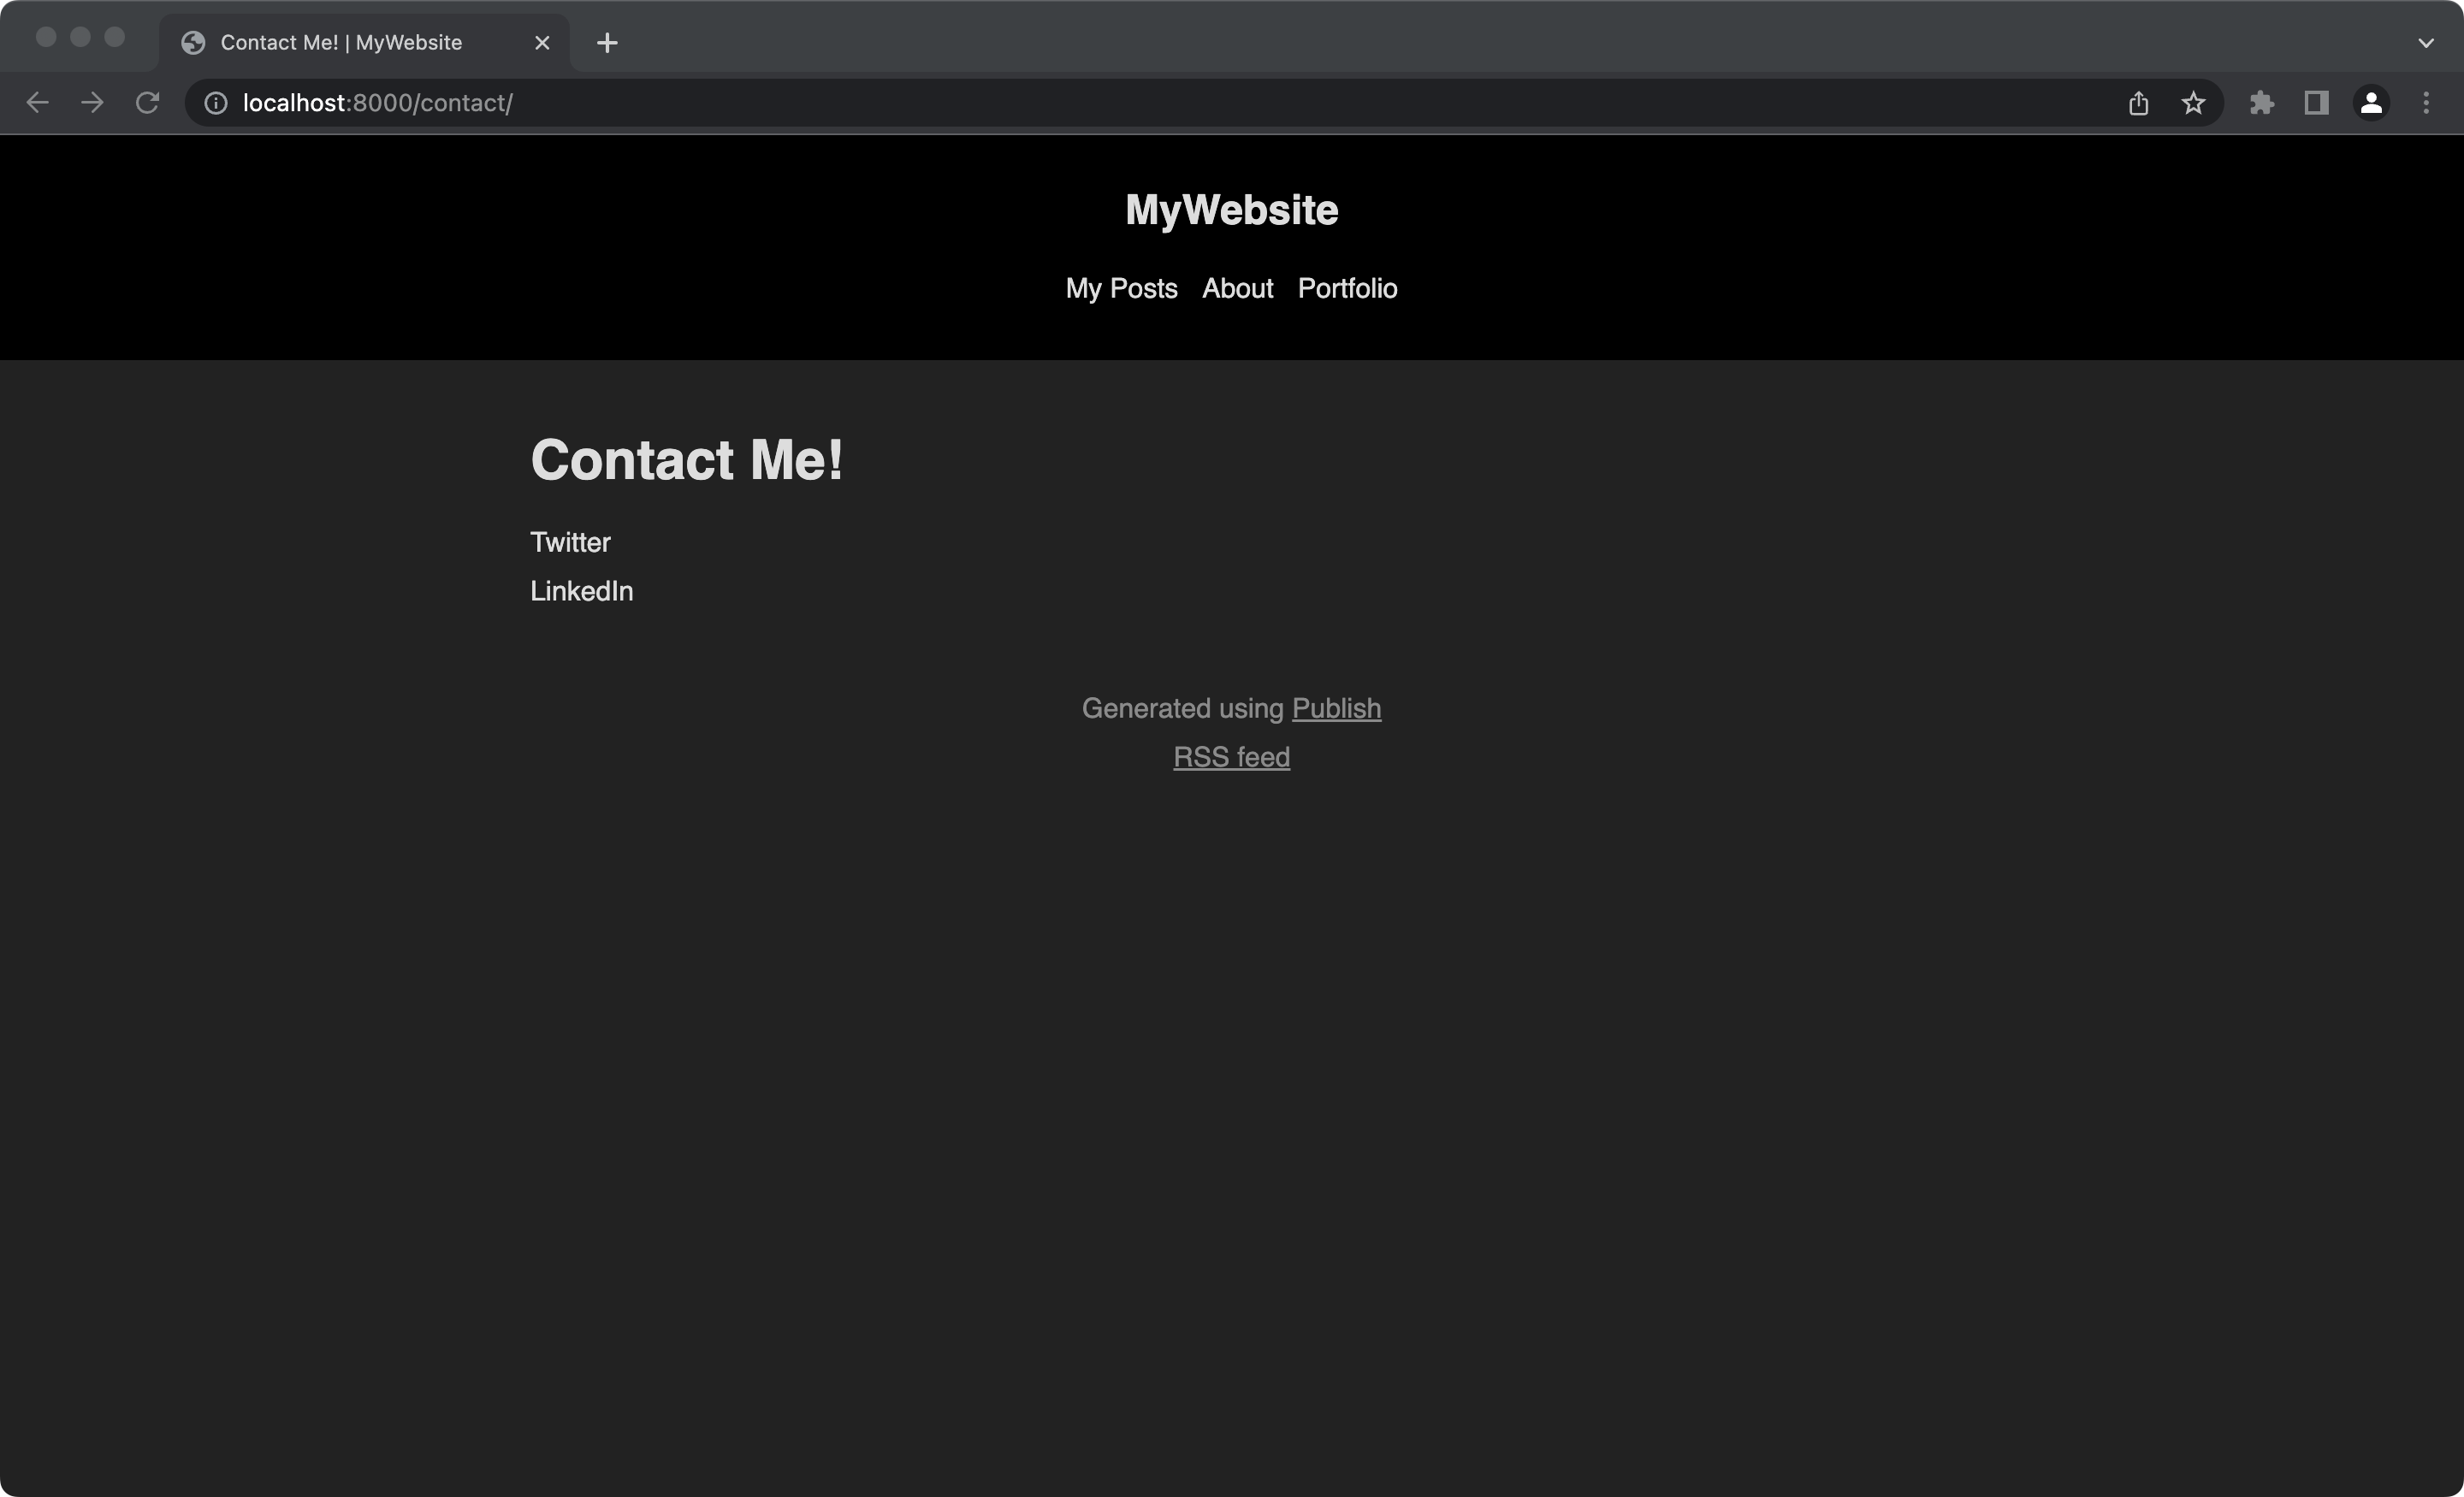
Let's say you want to add a custom Contact page. Create a contact.md file and add the link to it in about section with markdown [Contact me](/contact). Build the project, refresh the website and you can navigate to the contact page:
You've learned how to build your website with markdown using the built-in Foundation theme. You can add sections, standalone pages, and blog posts. You can build a simple static website using markdown only.
In the future post, you'll learn how to go behind the scenes and build your website in Swift with a custom theme. You'll also learn how to add some flavor and colors with CSS.
Please feel free to reach out on Twitter if you have any questions, comments or feedback.
Thank you for reading and happy coding!
