So you’ve decided to create a personal website to show your portfolio or start writing a blog. The biggest decision you need to make is choose the tech stack to build the website.
CMS or a Static Site
You could go with the Content Management Service (CMS) that lets you build a website without knowing any web development, like WordPress or Webflow. If you’re feeling more adventorous and want something simple yet customizable, you could choose a static site generator.
Of course, there’s always an option to build the entire website yourself. But, let’s be honest, who has time for that? Besides, there are many great options out there to choose from!
Static site generator is an alternative to CMS and a very popular choice among developers. It’s a tool that generates a static website based on raw data and a set of templates, automating the task of coding individual HTML pages. These HTML pages are pre-built and load the same way every time a website is open. This makes static websites fast as they load quickly in users’ browsers.
Dynamic websites, on the other hand, load differently each time based on any different data input, like user location, input or action, and require JavaScript code within the browser to render properly.
Static websites are also 100% JavaScript free by default. Of course, you could always add JS code yourself later.
The most popular static site generator among developers is Jekyll. It’s using Liquid, a template language created by Shopify and written in Ruby.
There’s also a third option that you might consider and it’s what this post is all about so let’s get right to it.
Publish
Publish is a static site generator built by John Sundell to help Swift developers create their personal websites using language they already know. That’s right, you can build a static website in Swift, just like this website!
While Publish helps you write website components in Swift, you still need some basic understanding of HTML and CSS. But worry not; nothing complex that a little bit of searching online won’t help.
Every website created with Publish is a Swift package. When deployed, a pre-defined set of steps get executed that builds and renders the HTML components and styles them with CSS. We’ve already mentioned how static sites are pre-built, so Publish does exactly that. Apart from rendering HTML, it also generates the RSS feed and a site map for you.
Publish comes with a built-in theme that let’s you get started quickly, called Foundation. It serves as a starting point and you can replace it with your own at any time.
Installing the Publish Command Line Tool
At the time of writing, Publish 0.9.0 version is the latest and supports Swift version 5.5 (or later) and macOS Monterey (12.0) or later. Make sure to check the System Requirements in the official documentation.
Publish comes with a neat command line tool that makes it easy to set up new website projects. To install the tool, clone the Publish repo, get into the root folder and run make:
$ git clone https://github.com/JohnSundell/Publish.git
$ cd Publish
$ make
You use the
cdcommand to change the current working directory andmakeis a utility command for building programs from source code. In this case you build the command line tool for Publish.
To see the list of available commands, run publish help in the command line and you’ll see this:
Publish Command Line Interface
------------------------------
Interact with the Publish static site generator from
the command line, to create new websites, or to generate
and deploy existing ones.

Available commands:

- new: Set up a new website in the current folder.
- generate: Generate the website in the current folder.
- run: Generate and run a localhost server on default port 8000 for the
       website in the current folder. Use the "-p" or "--port" option for
       customizing the default port.
- deploy: Generate and deploy the website in the current folder, according to
          its deployment method.
These four commands are all you need and will come quite handy.
Creating a New Website
To create a new website you’ll use the Publish command line tool. All you need to do is create a new folder and run publish new inside the newly created folder:
$ mkdir MyWebsite
$ cd MyWebsite
$ publish new
You use the
mkdircommand to create new folders.
Now run open Package.swift or find the folder in Finder and open Package.swift manually.
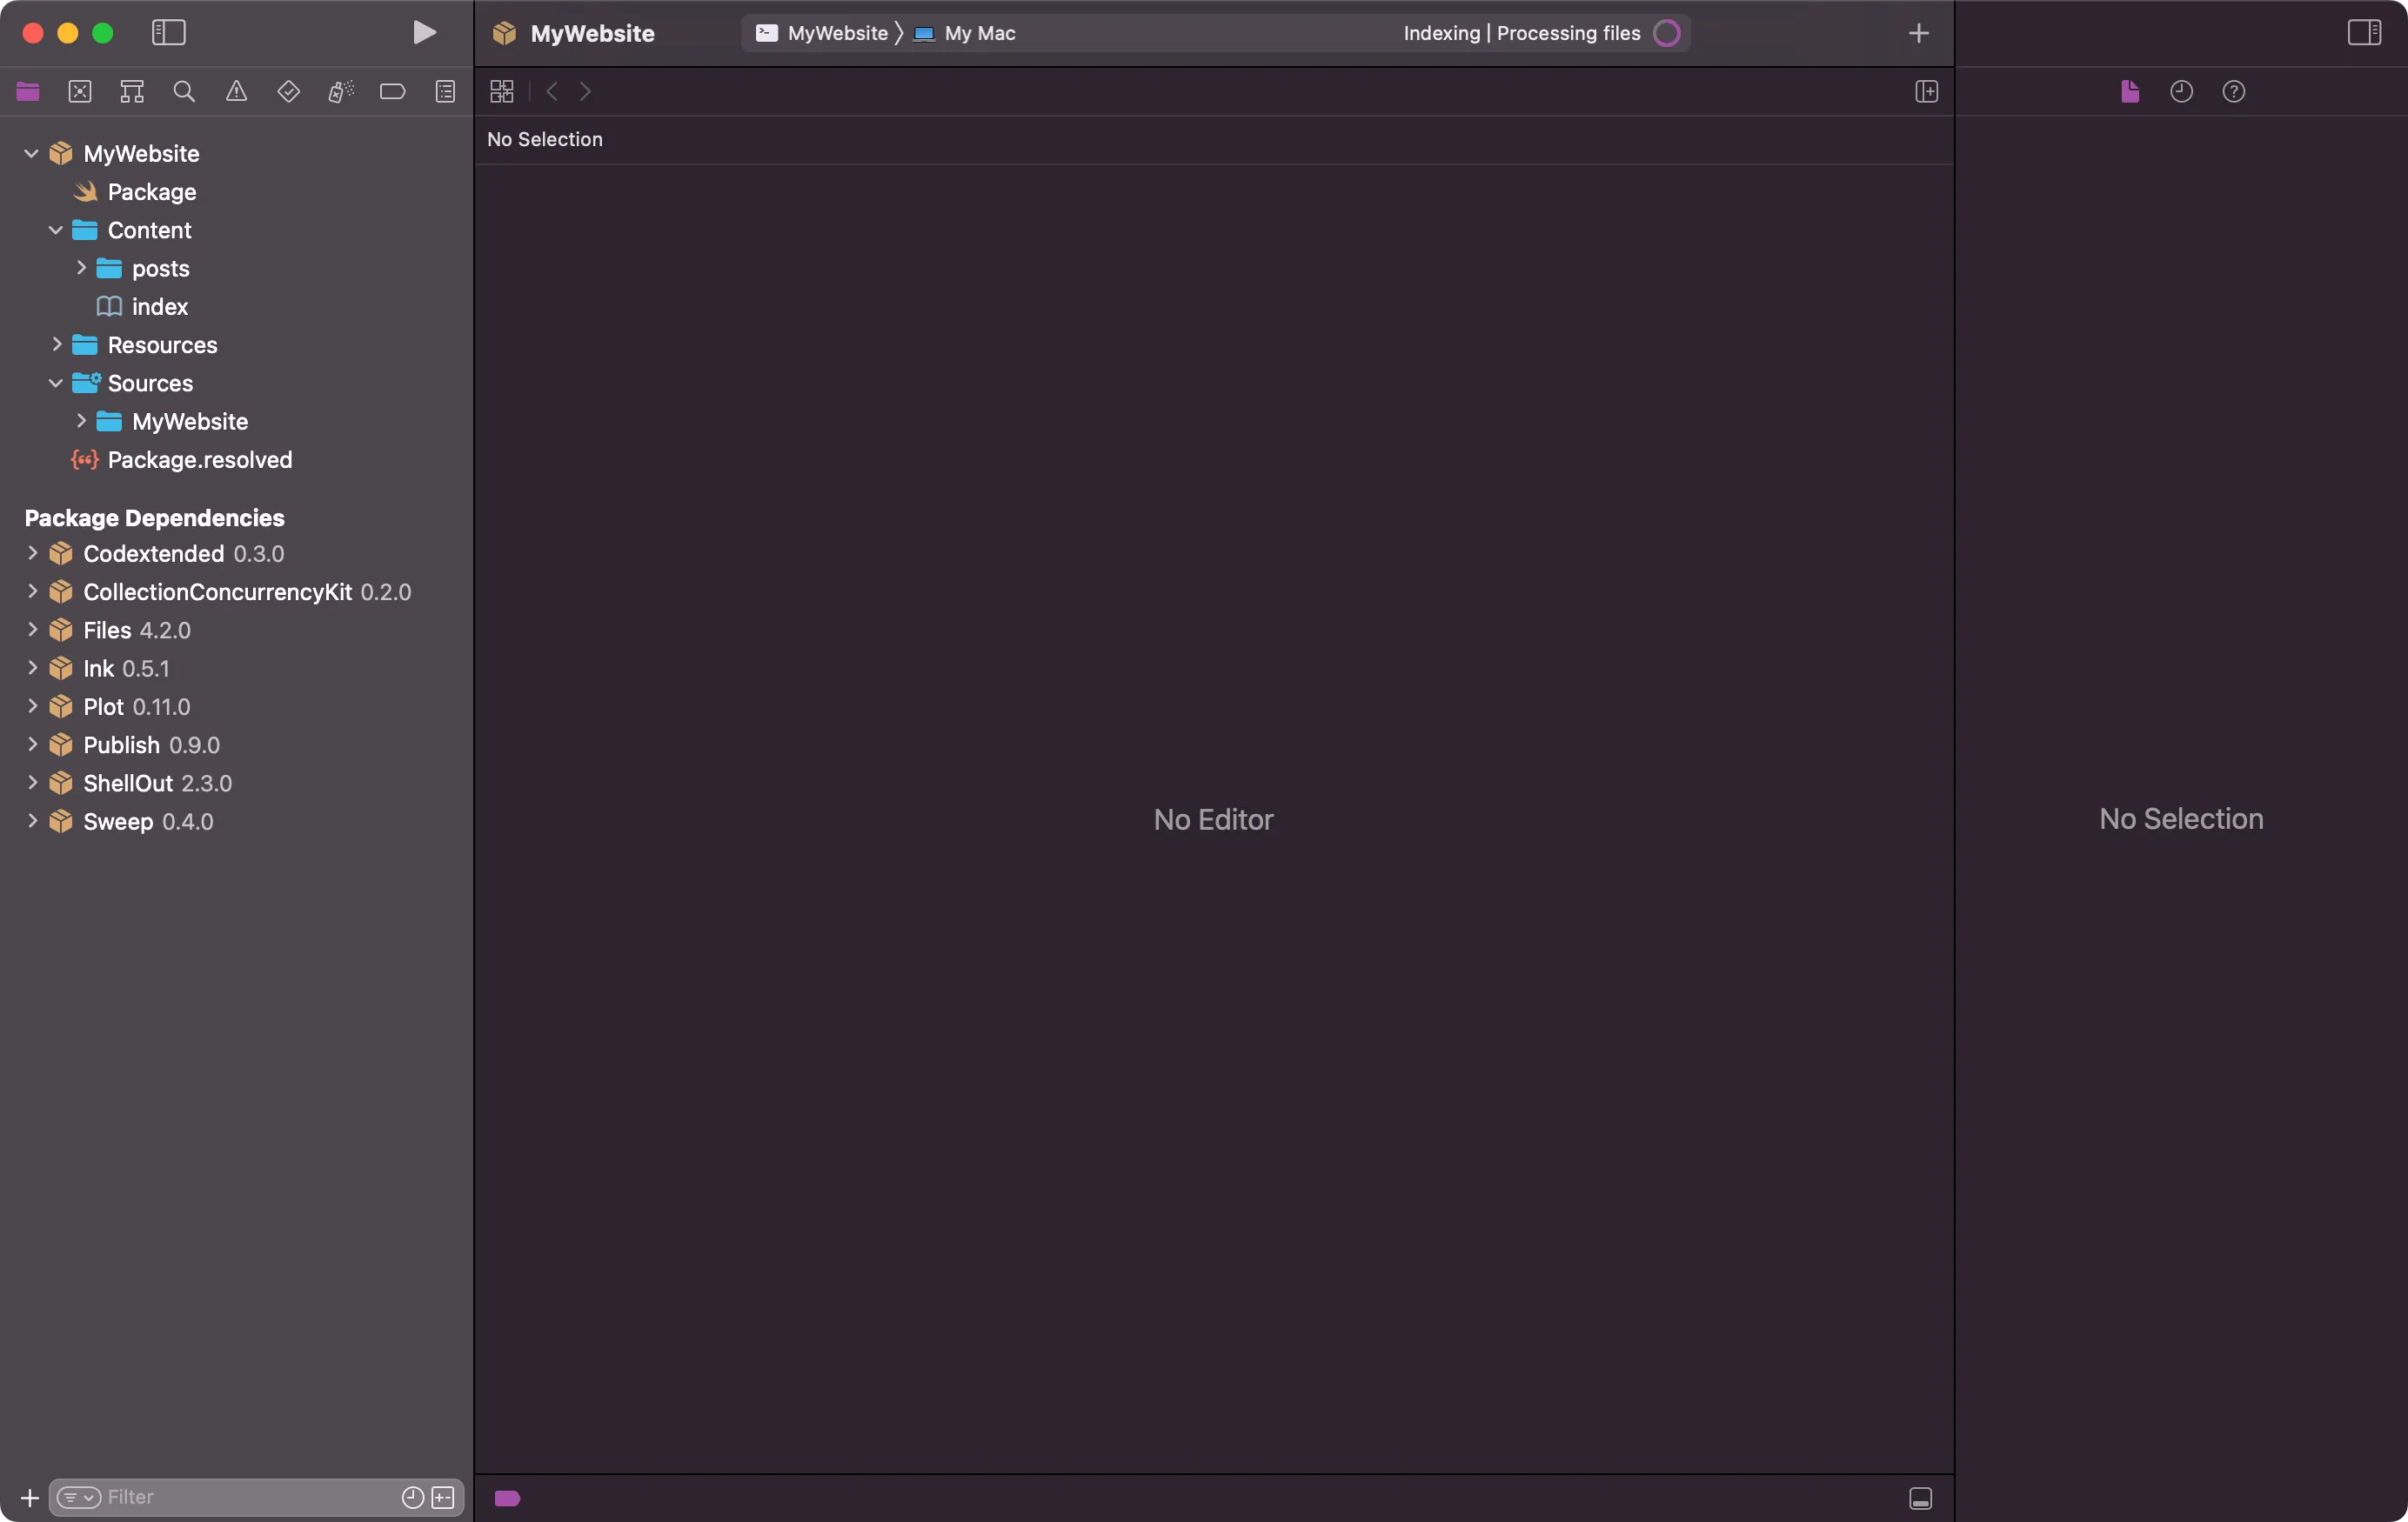
Xcode will open your new website as a package:

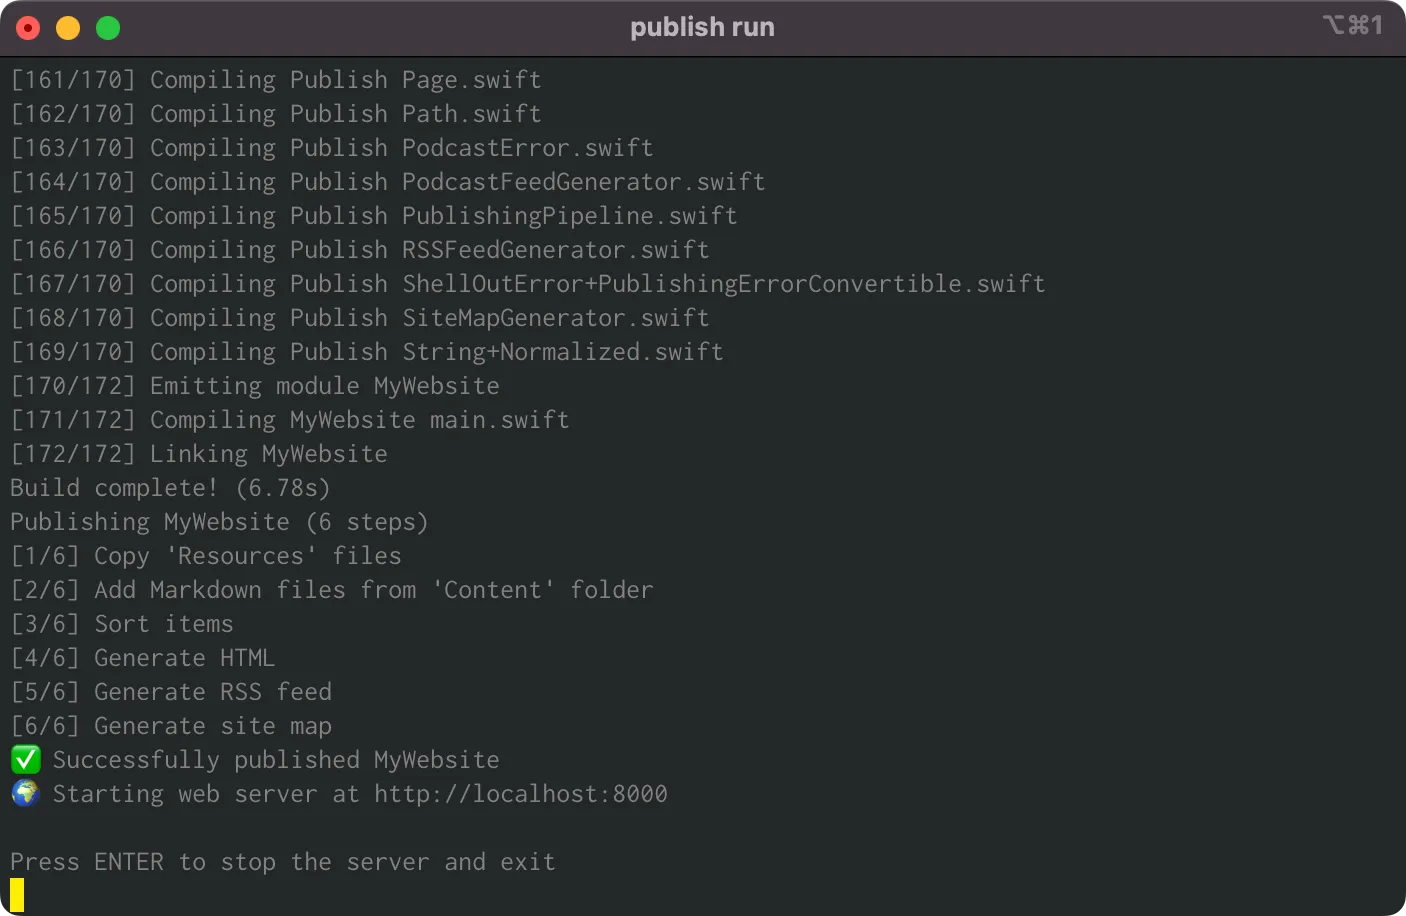
All you have to do is, run the package in Xcode with Product -> Run or press the Command + R keys. This will generate and update the website every time you make new changes. You’ll see the following output in the Xcode console:
Publishing MyWebsite (6 steps)
[1/6] Copy 'Resources' files
[2/6] Add Markdown files from 'Content' folder
[3/6] Sort items
[4/6] Generate HTML
[5/6] Generate RSS feed
[6/6] Generate site map
✅ Successfully published MyWebsite
Program ended with exit code: 0
Running Website Locally
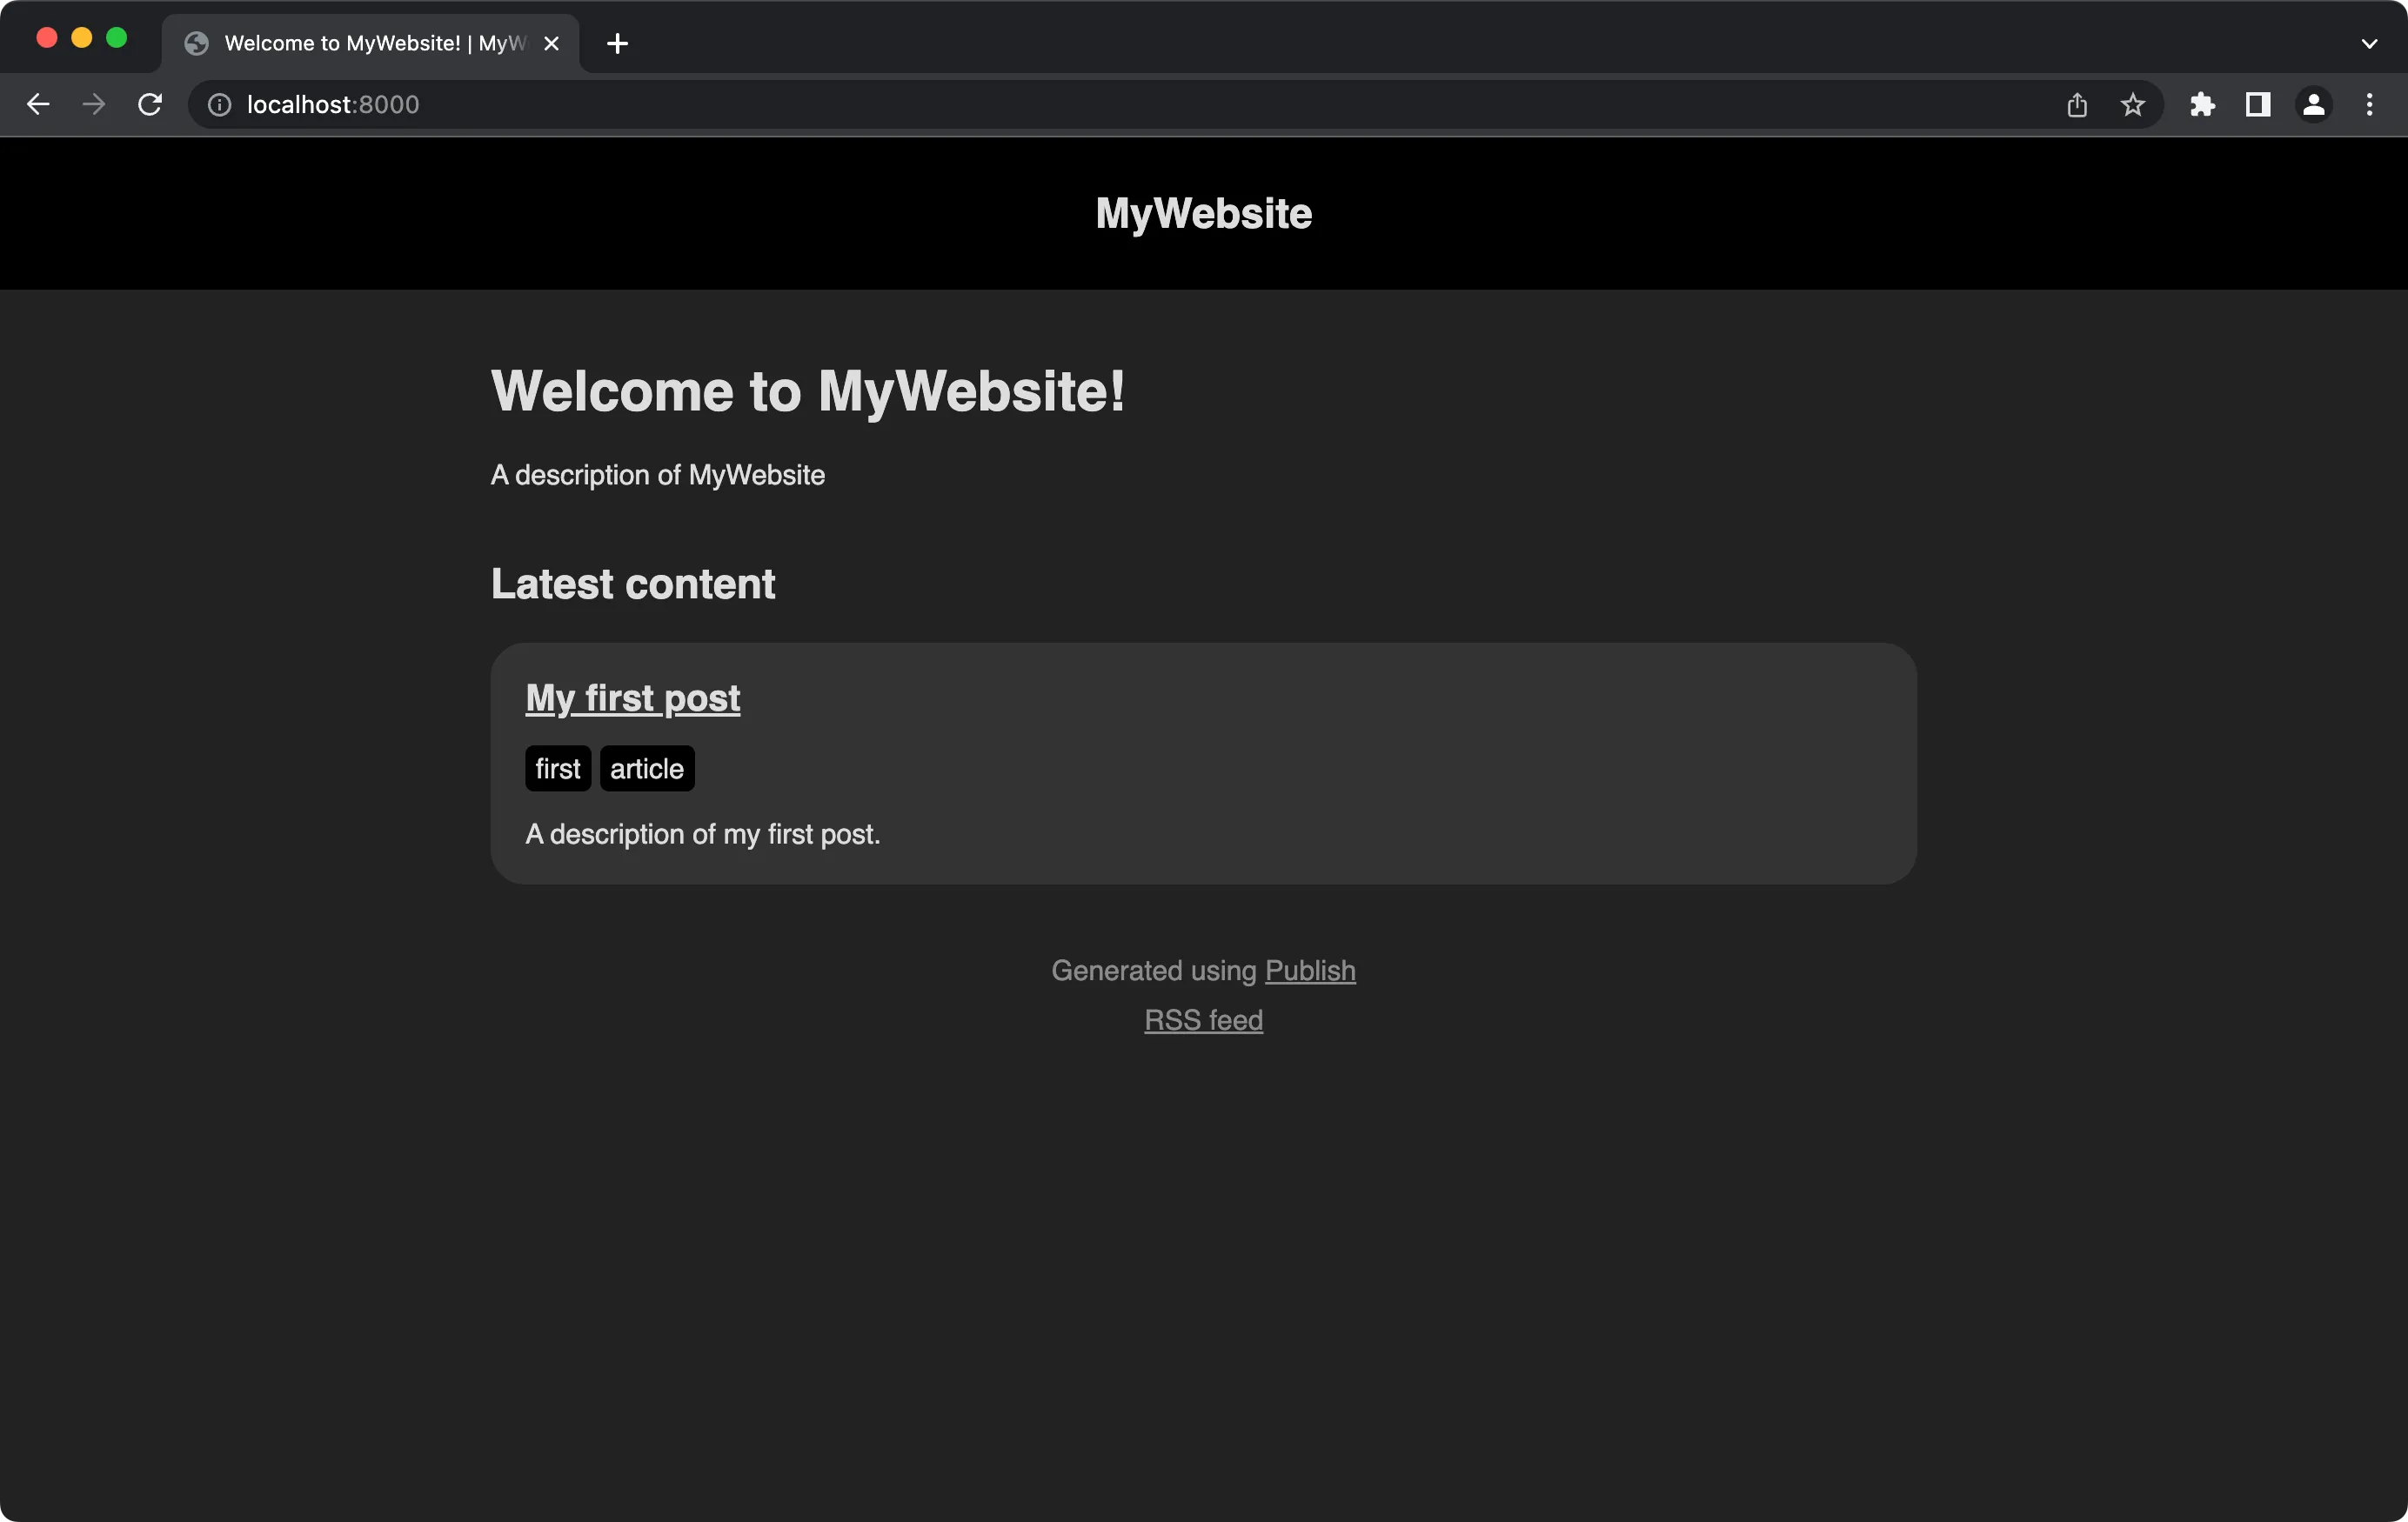
You can preview your website locally before it’s published by running a local server. Simply run publish run in command line while in the root folder of your website to run the server and open the link from the console in your browser of choice. If you haven’t customized the port, it will be http://localhost:8000

Right now, you’ll see your website built with the default Foundation theme:

That’s it. Your new website is up and running!
When you’re done working on your website, go back to your Terminal and press ENTER to stop the server. When you want to resume, follow the same steps to start the local server.
This is the first post in the series of how to build a personal website using Publish. If you’ve been using Publish and found a better way to do something or you think I’m missing something important, please let me know! I’d love to hear what you’ve learned yourself.
Please feel free to reach out on Twitter if you have any questions, comments, or feedback.
Thank you for reading and happy coding!
